
I’ve been making “flipped classroom” videos for a couple of years now. Whilst I was learning how to do this effectively, my year 9 science class at the time (who called themselves the video guinea pigs!) were amazingly helpful with their feedback on what worked and what didn’t; what mattered and what didn’t matter. This was a result of mutual trust that will built up over the course of the year – quite a memorable class and year for me.
Interestingly to me, the students were far more concerned about audio quality and volume, than the video quality, the video length (within reason!) or any of the mistakes I made. In fact, they encouraged me to leave in any bloopers, as “we see them when you make them in class, how is it any different?” They also were happy with videos up to 15 minutes long, as long as they were “interesting with some of your funny stuff”.
They were not happy with one of my early videos recorded using the on-board computer microphone. The audio was low volume, scratchy and had really bad thumps every time I brushed the table, and bangs and crashes every time I wrote on the screen using the stylus. They explained that they often listened with headphones on the bus or at home to get away from sibling noise, and the bad audio was really exacerbated when it was “in ear”. I tried listen to the recording and was embarrassed! From this came a rapid learning curve about microphones, and I have purchased no less than six different models to test – from $20 headsets to $200 semi-pro setups. My main learning was that for decent quality audio, I needed to have:
- A pop filter – that’s a shield between your mouth and the microphone to stop hard sounds such as “K” and “T” making “pop” sounds.
- A shock mount – which suspends the microphone on a spring or shock cord from its stands, so noise from banging the desk or computer doesn’t get transmitted to the microphone.
- A pair of good actual microphones inside – that’s the bit that turns vibrating air particles into electrical signals.
- A USB connection, so it was a true digital signal from the time it got to the computer.
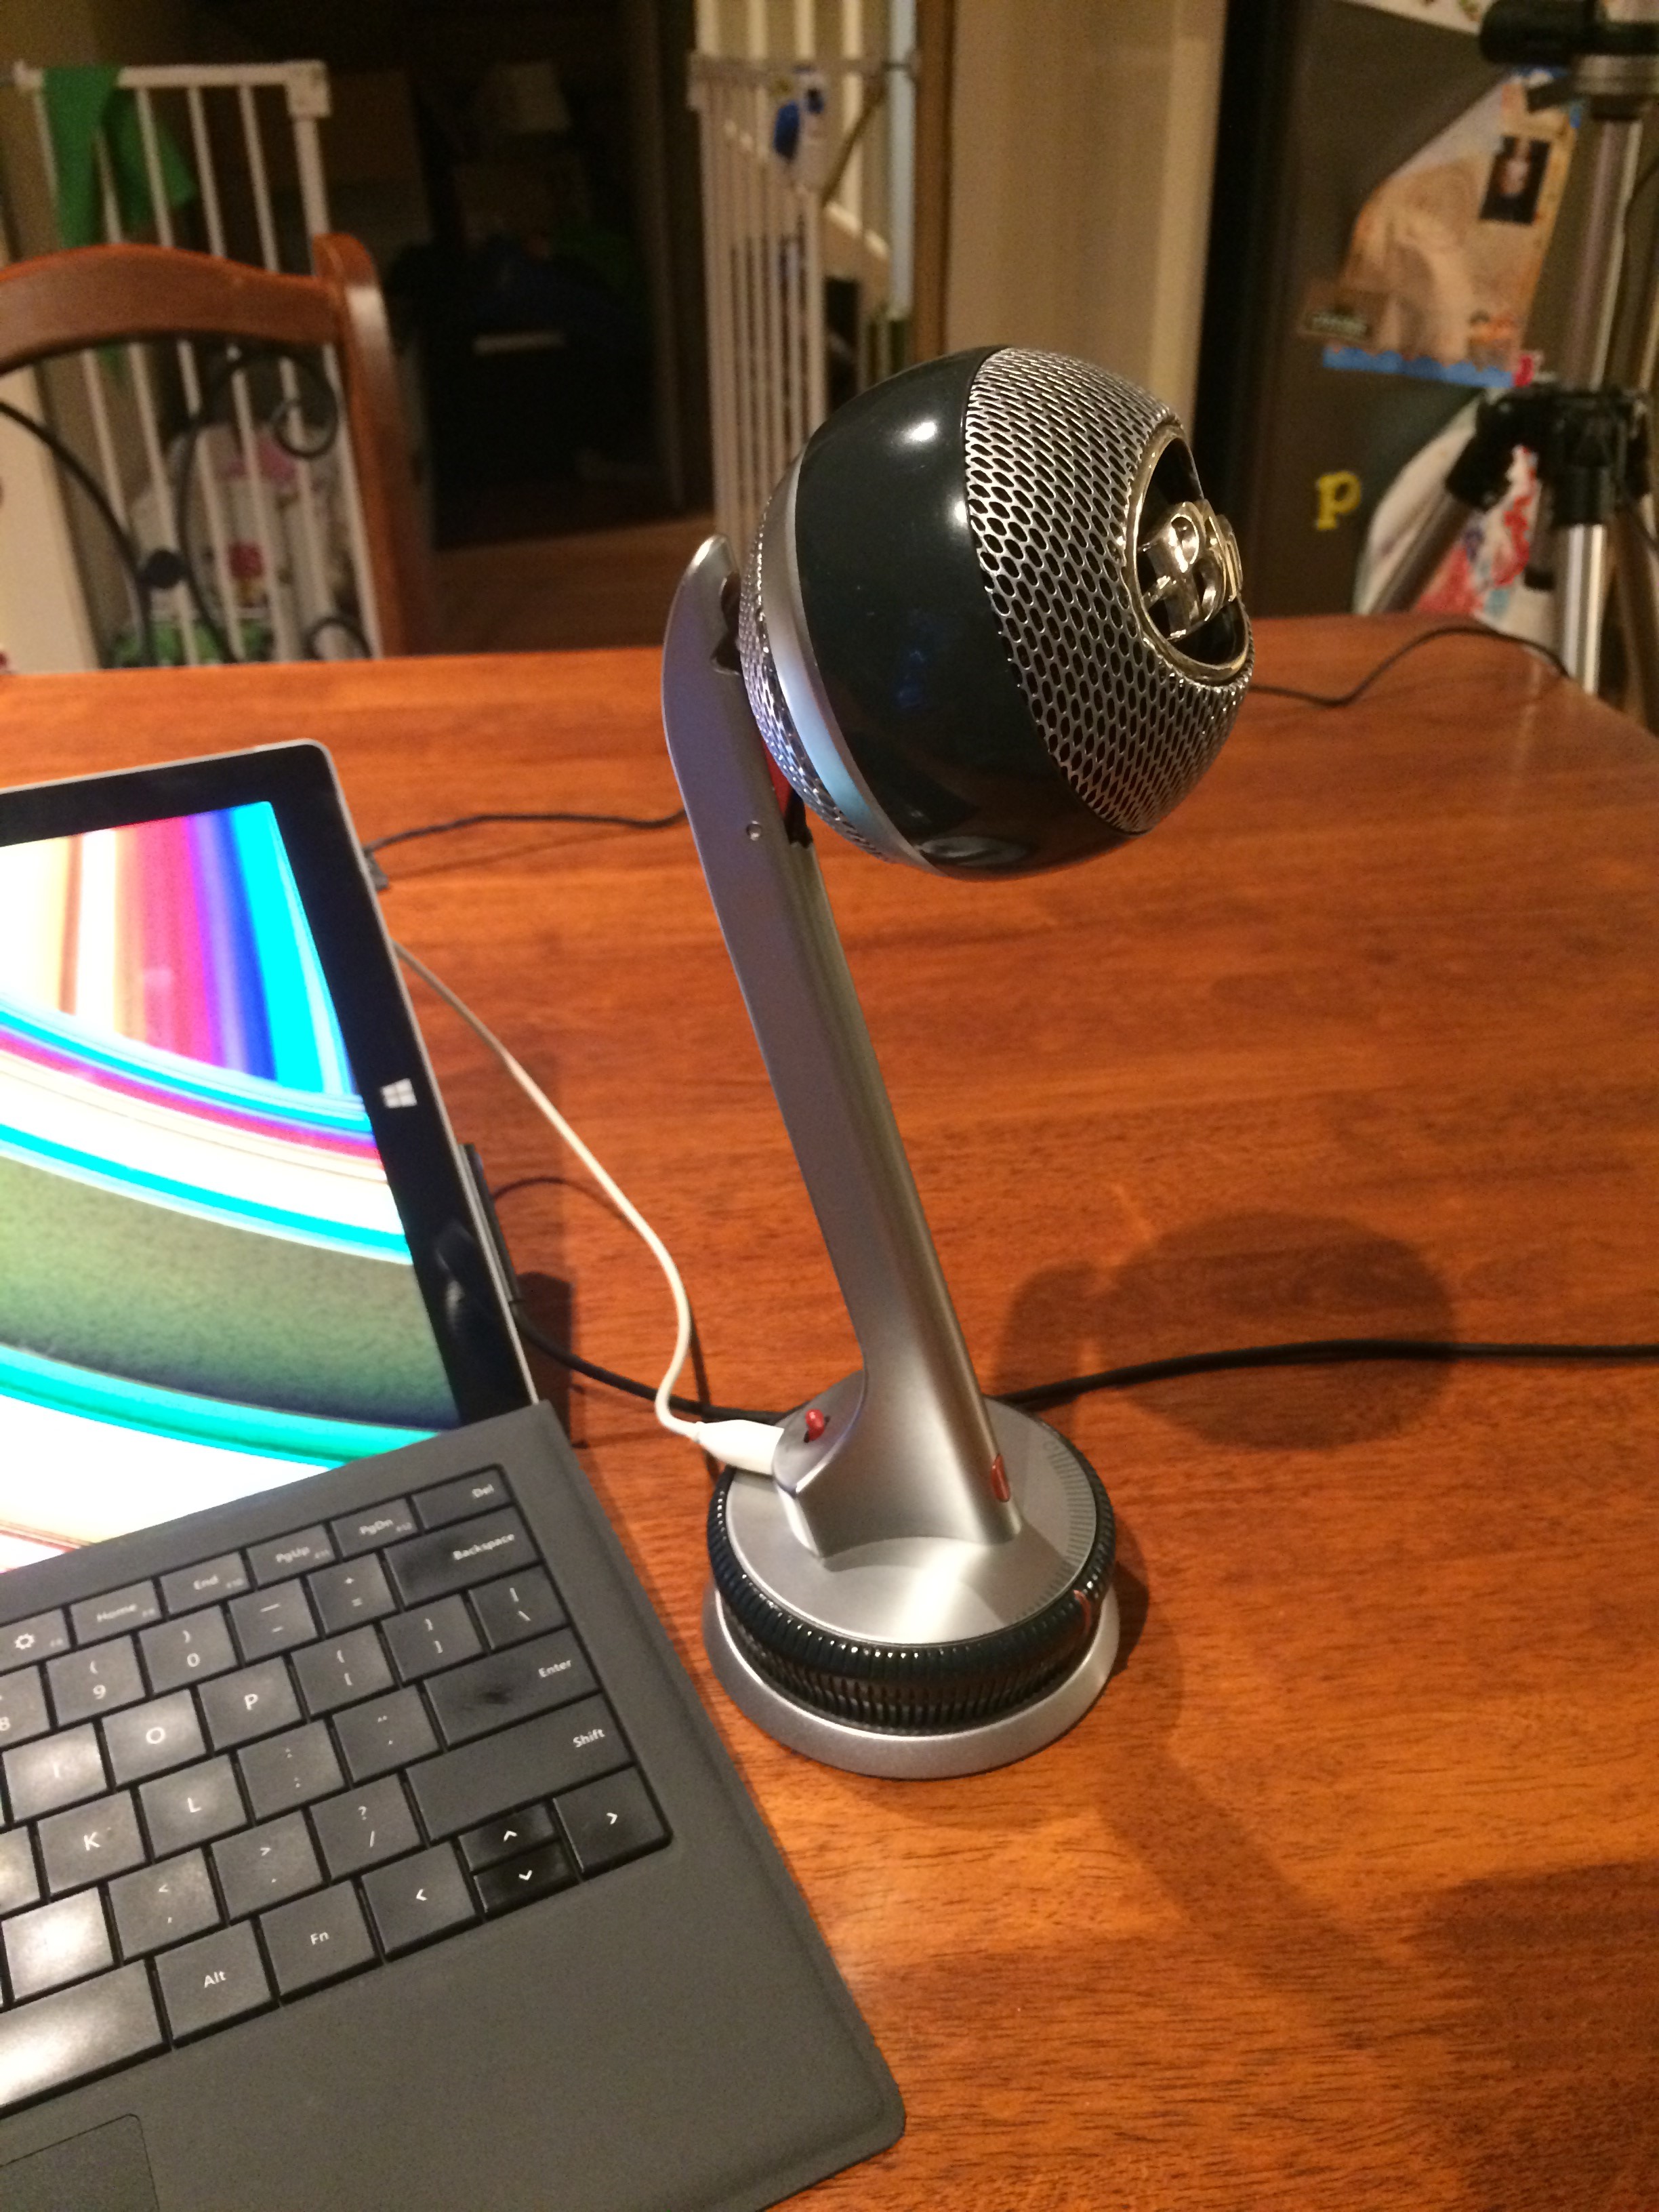
After all my searching, my day to day microphone is now an all in one, which also has automatic volume levelling and noise reduction electronics built in, and a headphone monitor port. It’s the Blue microphones “Blue Nessie”. And as well as being high quality audio, it looks awesome too!
There are two main ways that I use the microphone. The first is within OneNote, especially for giving students audio formative feedback on draft material that they submit. I also will sometimes create a quick OneNote page with an explanation to a question I get out of normal class time, usually by email. Both of these are very easy to do and use the same method – from the insert menu in OneNote, you just choose “Record Audio”, and then from the Playback menu you can use “Audio and Video Settings” to choose the external microphone source, along with change the quality settings.

Once recorded, the audio file is stored on the page, and can be played using the Playback menu controls. Additionally, if “See playback” is selected from the same menu, you can see the annotations and activity that was occurring at the time the audio was recorded, highlighted – this gives a bit of a sense of what was going on at the time.
Here is an example of the Blue Nessie microphone used within OneNote.
OneNote Audio recording started 801 PM Tuesday, 30 December 2014
Yesterday I wrote about having a range of cables to connect various devices, one of which was a Targus unpowered USB3 four port hub, allowing more than one USB3 device to be plugged into the Surface Pro 3. As soon as you want to record both video and audio off the computer, from separate sources, this USB3 hub becomes a necessity!
The second way I use the Blue Nessie microphone is exactly like this, using, you guessed it, Techsmith Camtasia – this is how I do all my flipped classroom videos, with or without screen recording. This is by far my most common way of creating video content (compared to feedback above) for students, be it formal planned content, or a response to a question. I still use OneNote often, but record the screen so the students can playback and see exactly what I do.
Here is an example of this type of video – hopefully you can see (well hear!) the audio quality difference when a quality microphone is added to your toolkit. Go back and listen to the videos earlier in the series if you need a comparison point – I deliberately used the microphone on the webcam for those, to slowly build up the options and quality – but this is also adding complexity.
If you are willing to go this far in the search of better quality sound, the next logical step is to think about some headphones – which we will, tomorrow!
