
Happy New Year!
Of the technological devices that I got in 2014, the two that changed my day to day classroom practice most were the Microsoft Surface Pro 3, and the Actiontec Screen Beam. I’ve already spoken at length about the SP3, as it is the keystone to everything I do, so today is all about the Screen Beam.
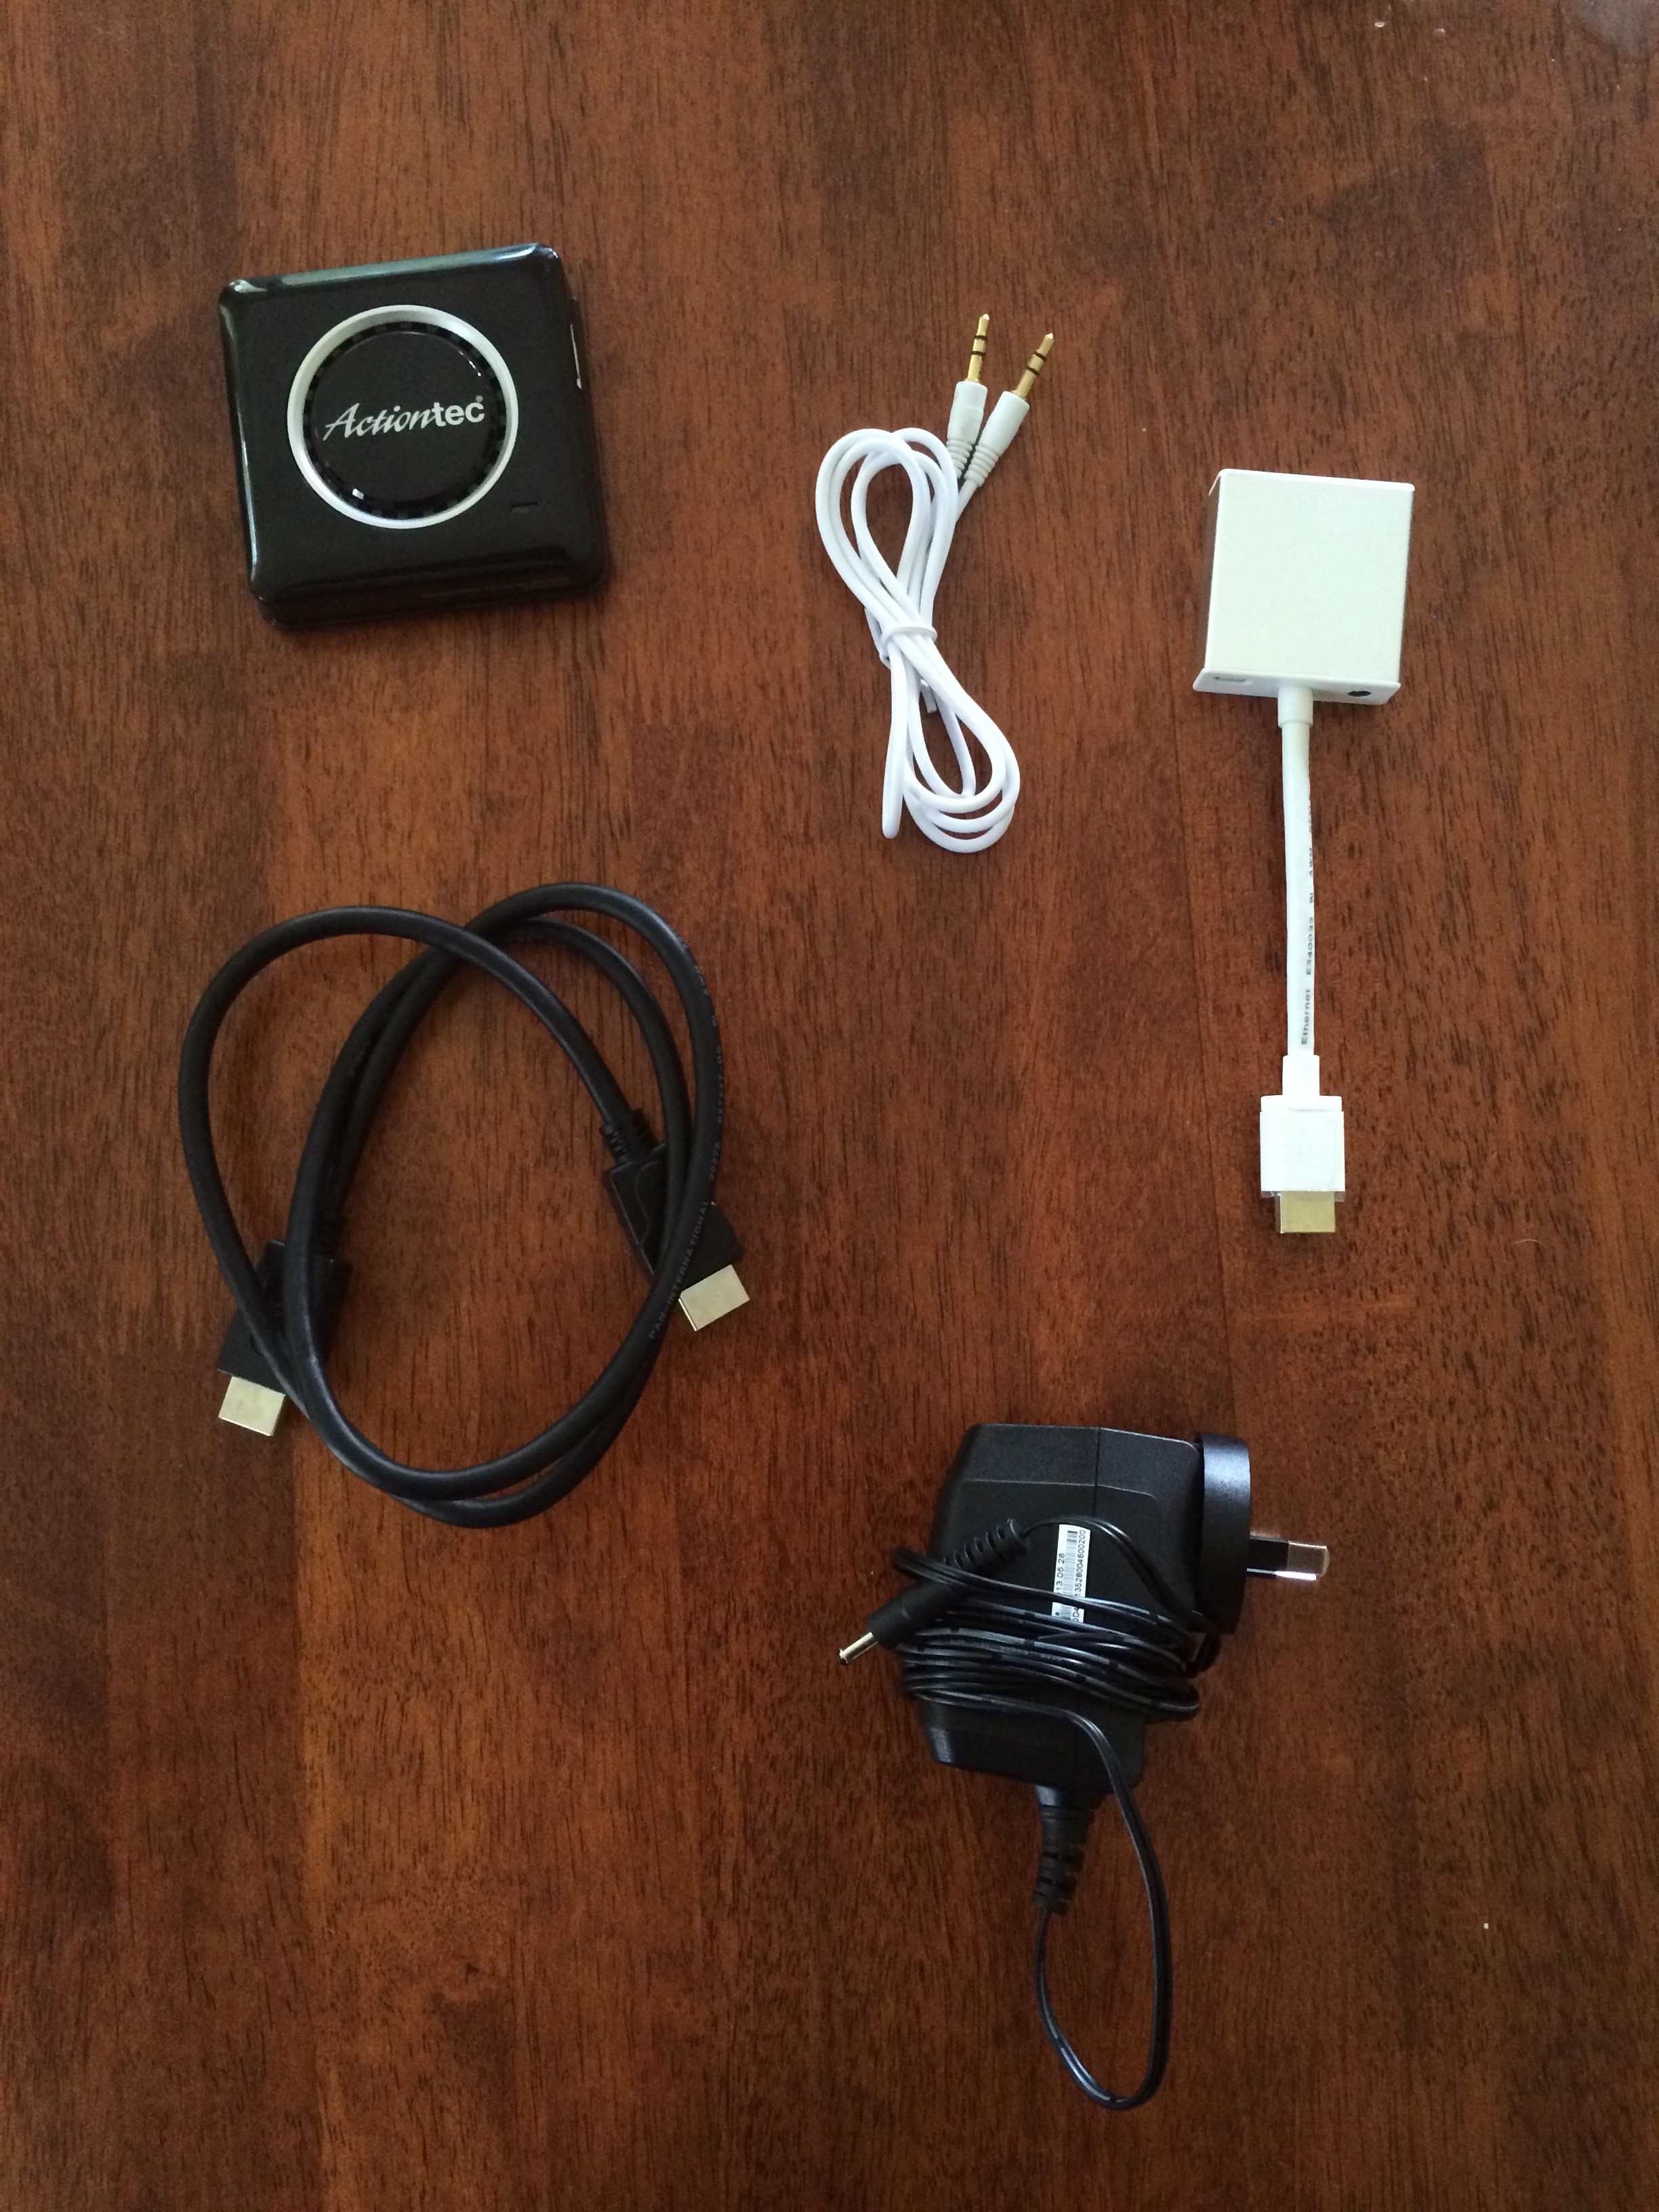
The Actiontec Screen Beam is a wireless receiver (using both the Miracast and WiDi protocols) that connects to any HDMI video input (including sound!), or any display port or VGA with an appropriate adapter. In the box is the Screen Beam itself, along with a 3.5mm audio cable, a HDMI cable, the power cable and transformer and a HDMI to VGA adapter with sound. The box had everything I needed to connect to nearly any projector or LCD panel we have at school (everything except the old PAL only VGA projectors, which are about to be replaced anyway).
Paired with a Surface Pro 3, I can set up and project wirelessly in around a minute. I actually use the setup time as a game with the students – it’s a race to see who can be ready first – me or them. It’s usually me, but they get there first occasionally! The advantage of the Screen Beam is I can be anywhere in the classroom and teach from that point. I’ve always been a wanderer in the room, so it really plays to my preferred teaching style. It also allows me to get up close and person with the students – and given relationships are key to education, I think this is a massive plus. It really comes into its own when utilising annotations over a presentation or in OneNote. A number of times I’ve been sitting with a single student drawing in OneNote whilst I explain something, only to find half the class following along on the big screen – talk about efficiency!
As a science teacher, one of my favourite things is to hook up my external webcam to the SP3 and use it as a mobile document camera, utilising the insert>> Video Recording option of OneNote. I find this invaluable for showing a demonstration or safety briefing to the students, knowing they can all clearly see – and I have a recording of it to share later. I also find it wonderful to share student work or experiments – I just go to them, and everyone can see their work or experiment on the big screen. And when I want to annotate over the picture, the magic purple button on the SP3 stylus allows me to take a screenshot and annotate to my heart’s content – the ultimate in high fidelity and low fidelity mash up, all mobile, and on demand!
It’s also really exciting when you give it students to use – a very easy way to hand over the focus of the class to the students.
So here is a video Lucinda (my four year old) and I made to demo the Screen Beam. It is all recorded in our lounge as this is where our TV is – and this means I couldn’t get back far enough to do the wide shot I needed. The consequence is my head is cut off (doh!) in the frame for the first minute or so (I should have sat down and not stood) – but in the interests of sharing my bloopers, I’m leaving it in and showing our one take, mistakes and all! For reference, the video and audio was recorded on a Canon 7D (as the SP3 was in use!); the Surface Pro 3 screen was recorded using Techsmith Camtasia, the external webcam was my Logitec C920, and the videos were all synched up and edited also in Camtasia.

[…] Day 8 – A Screenbeam Pro to project wirelessly […]
LikeLike