
The clapperboard is one of the icons of movie making – who hasn’t seen the stereotypical board clapped followed by the directors shout “action”? The clapper was invented in Melbourne, Australia, by F.W. Thring, and was two sticks hinged together to make the “clap”. Over time the design changed to incorporate firstly a chalkboard slate and more recently a digital slate.

The purpose of the modern day clapper board is three fold. Firstly, the “clap” gives a visual and audio signal so that the picture (film) and sound (audio) can be synchronised for playback. Secondly, the black and white stripes allow it to be easy to focus the camera lens on the board, as well as making it easy to see *exactly* in which frame the clapper shuts. Finally, the chalkboard allows important shooting information to be recorded – the scene, the take and so on, allowing the segments to be catalogued back in the editing suite.
I’ve been making a lot of videos as part of my teaching and now my blogging, and I’m about to start playing with recording the video on a camera separate to my computer which will record audio and the screen. Obviously, this brings a level of complexity to what I’m doing, not the least of which is solving the audio:video synchronisation. So I need a clapper board.
I also like the idea of being able to catalogue my clips easily – My (novel?) idea is to use my Surface Pro 3 as the “chalkboard” for my clapperboard, as this will mean the image is captured by both the external camera and the screen recording, allowing the matching clips to be easily found and edited together. I need the clapper as well, to make the sound for synchronising audio:video, and I want the whole assembly to be self supporting, as I’m both the cameraman, the audio recorder and the “talent” (although that could be debated!). Being a one man show, I want to be able to set it all up on my desk to focus and start recording, and then enter the shot.
So time to do some building!
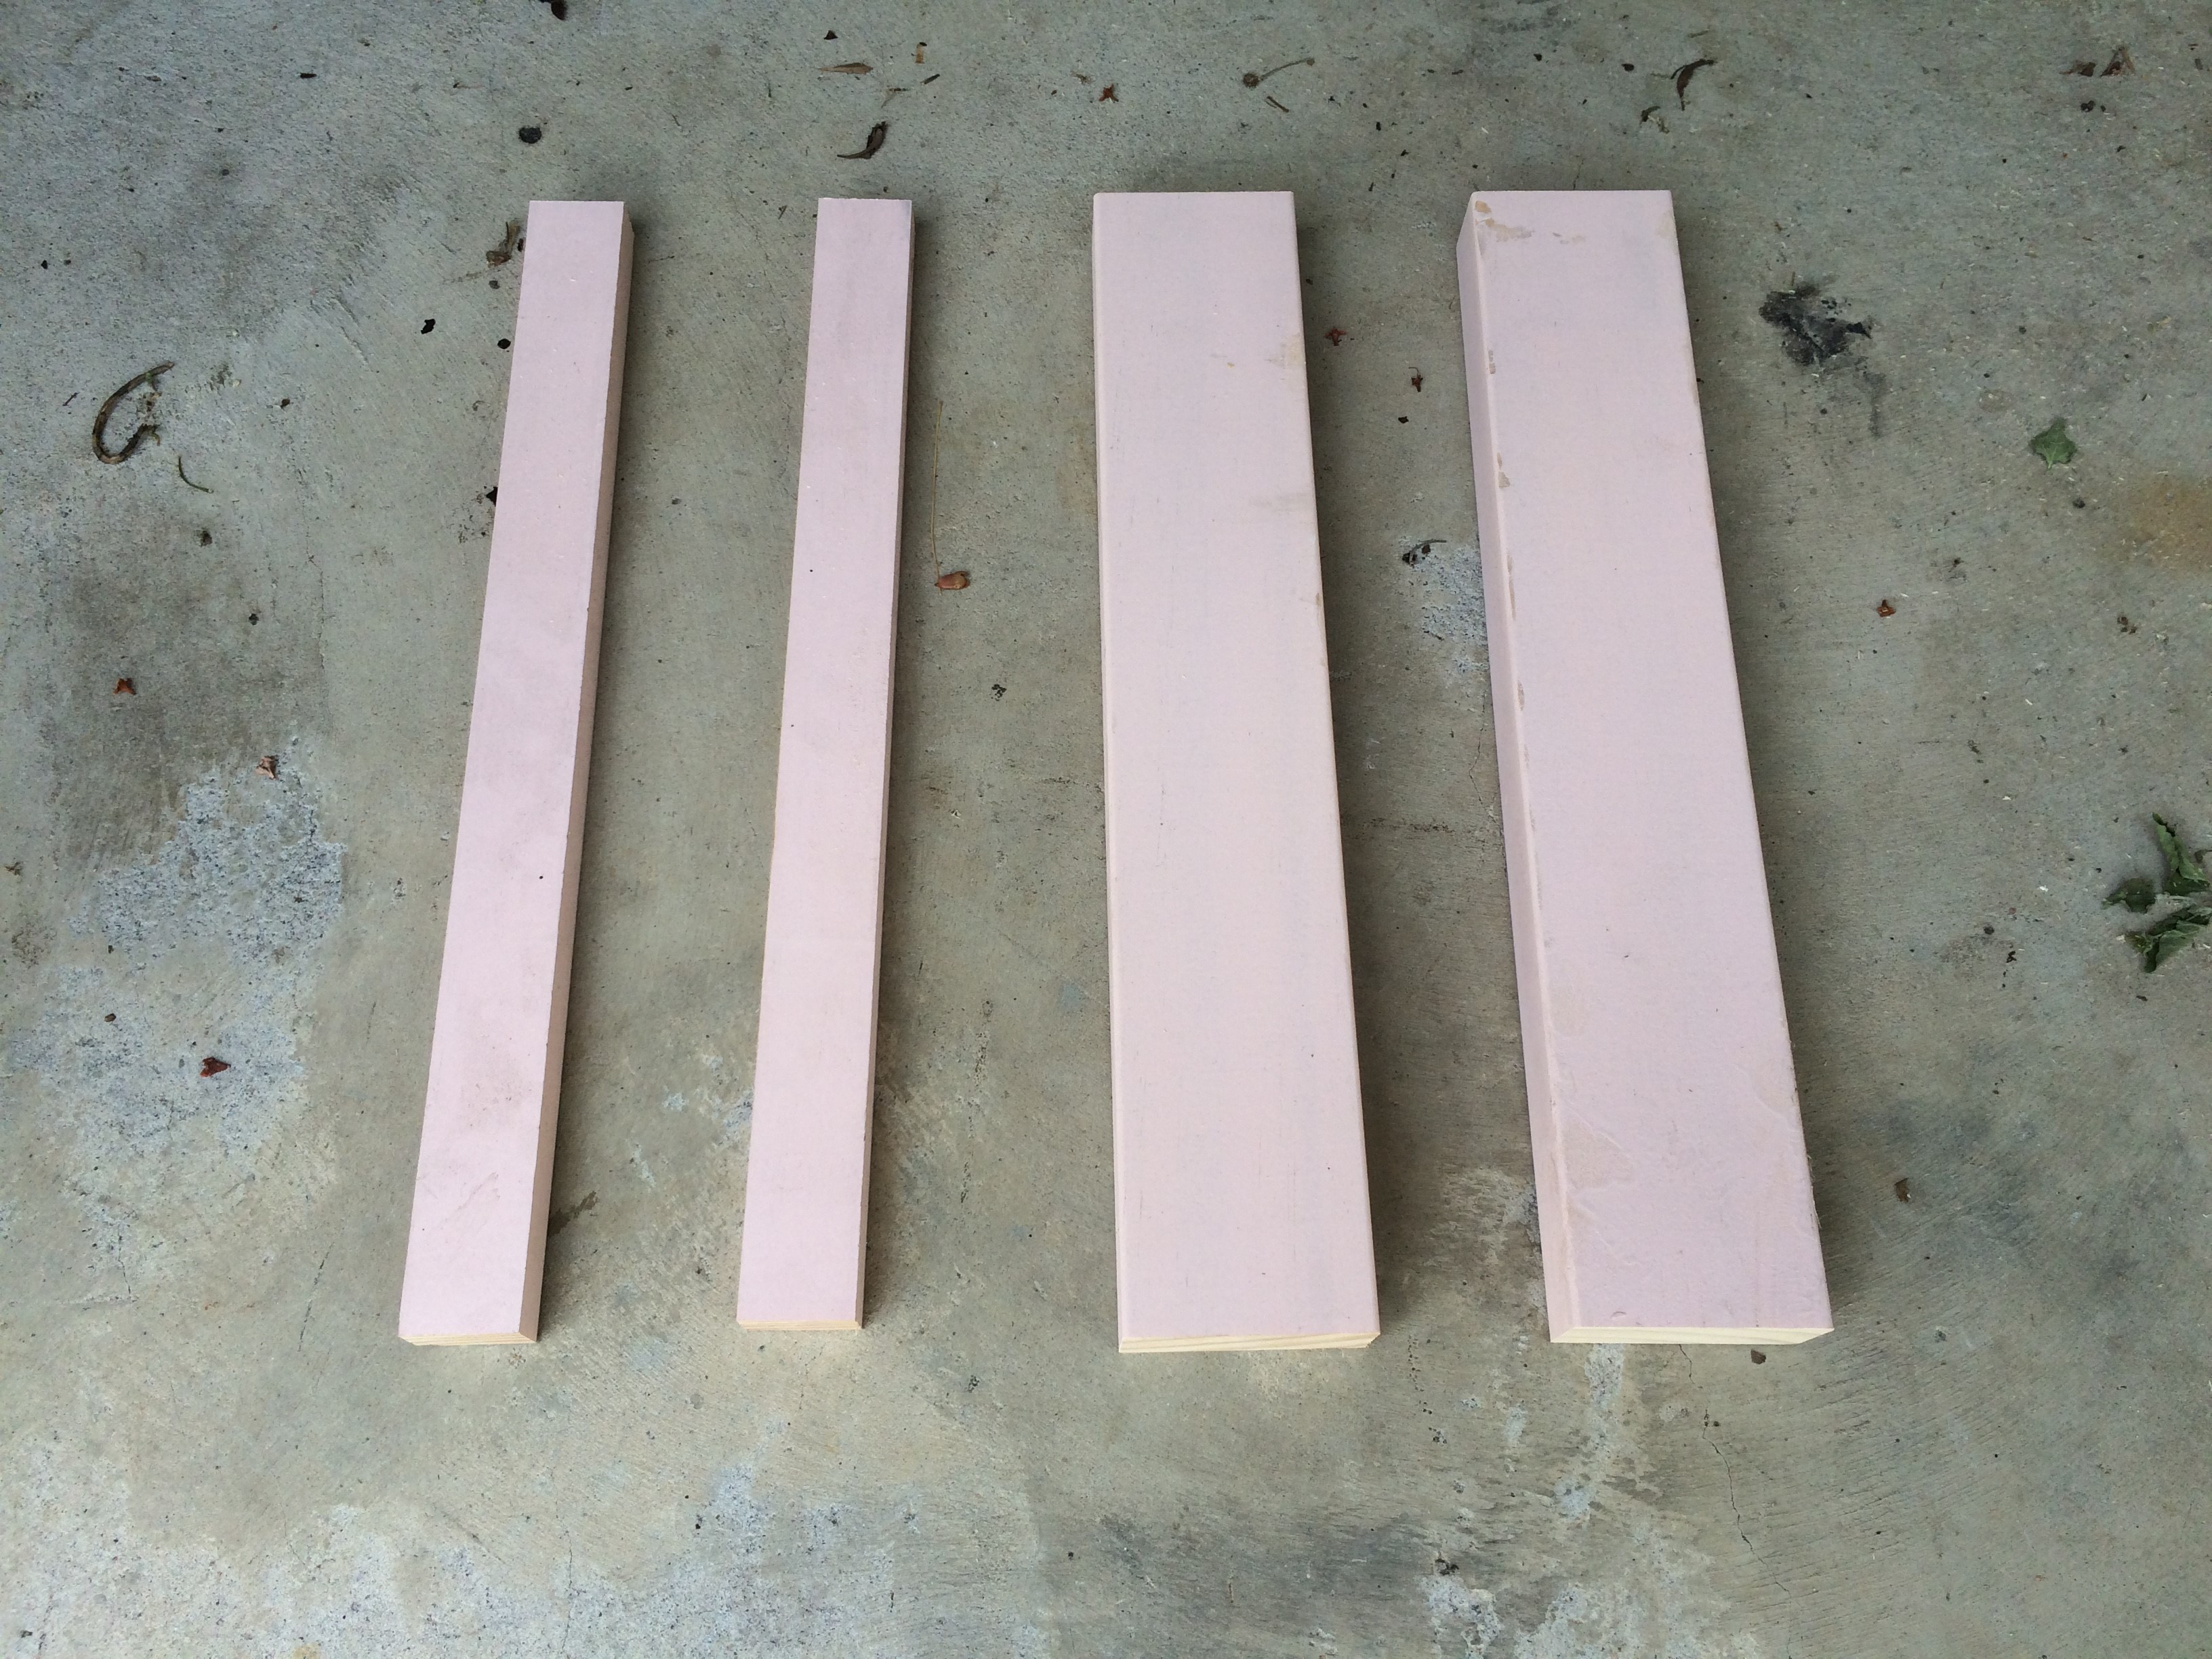
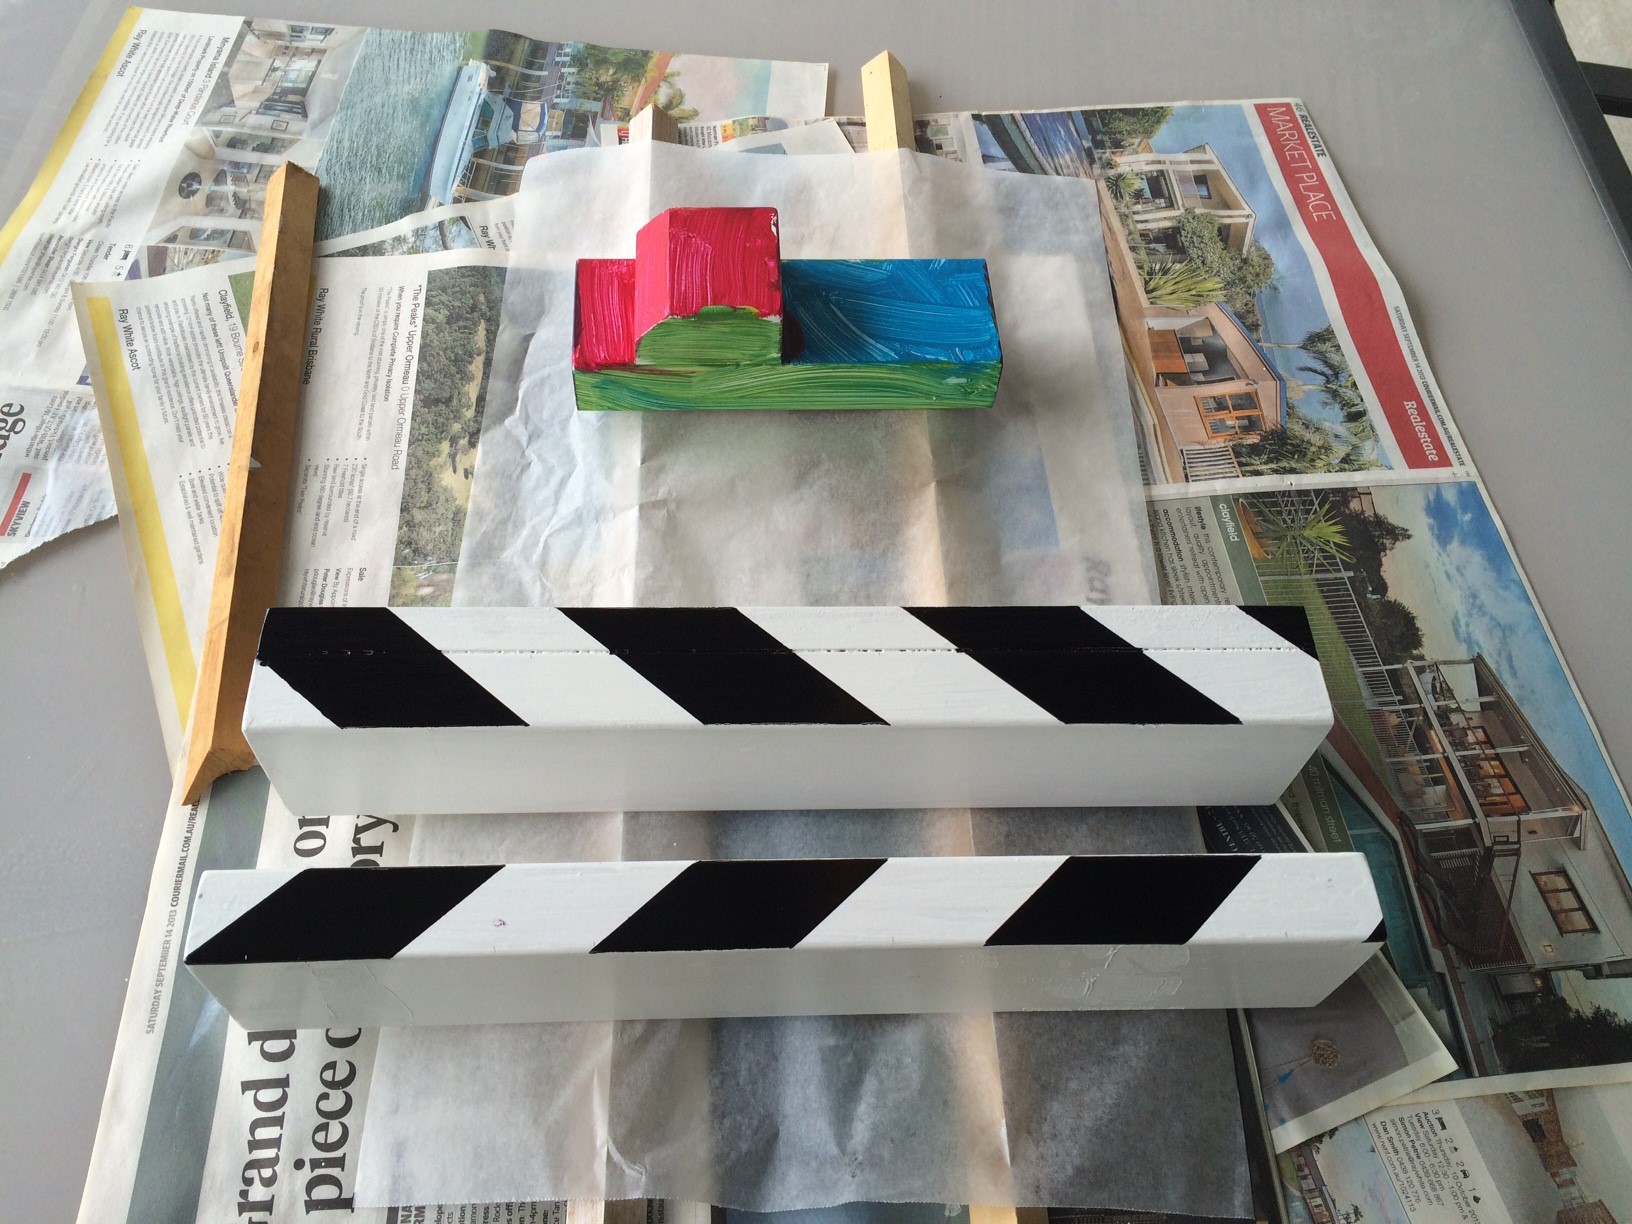
Firstly I cut two pieces of 67mm x 32mm timber, and two pieces of 18mm x 32mm timber all to the same length (about 350mm long). I had this lying around from the house renovation and its all pre primed.
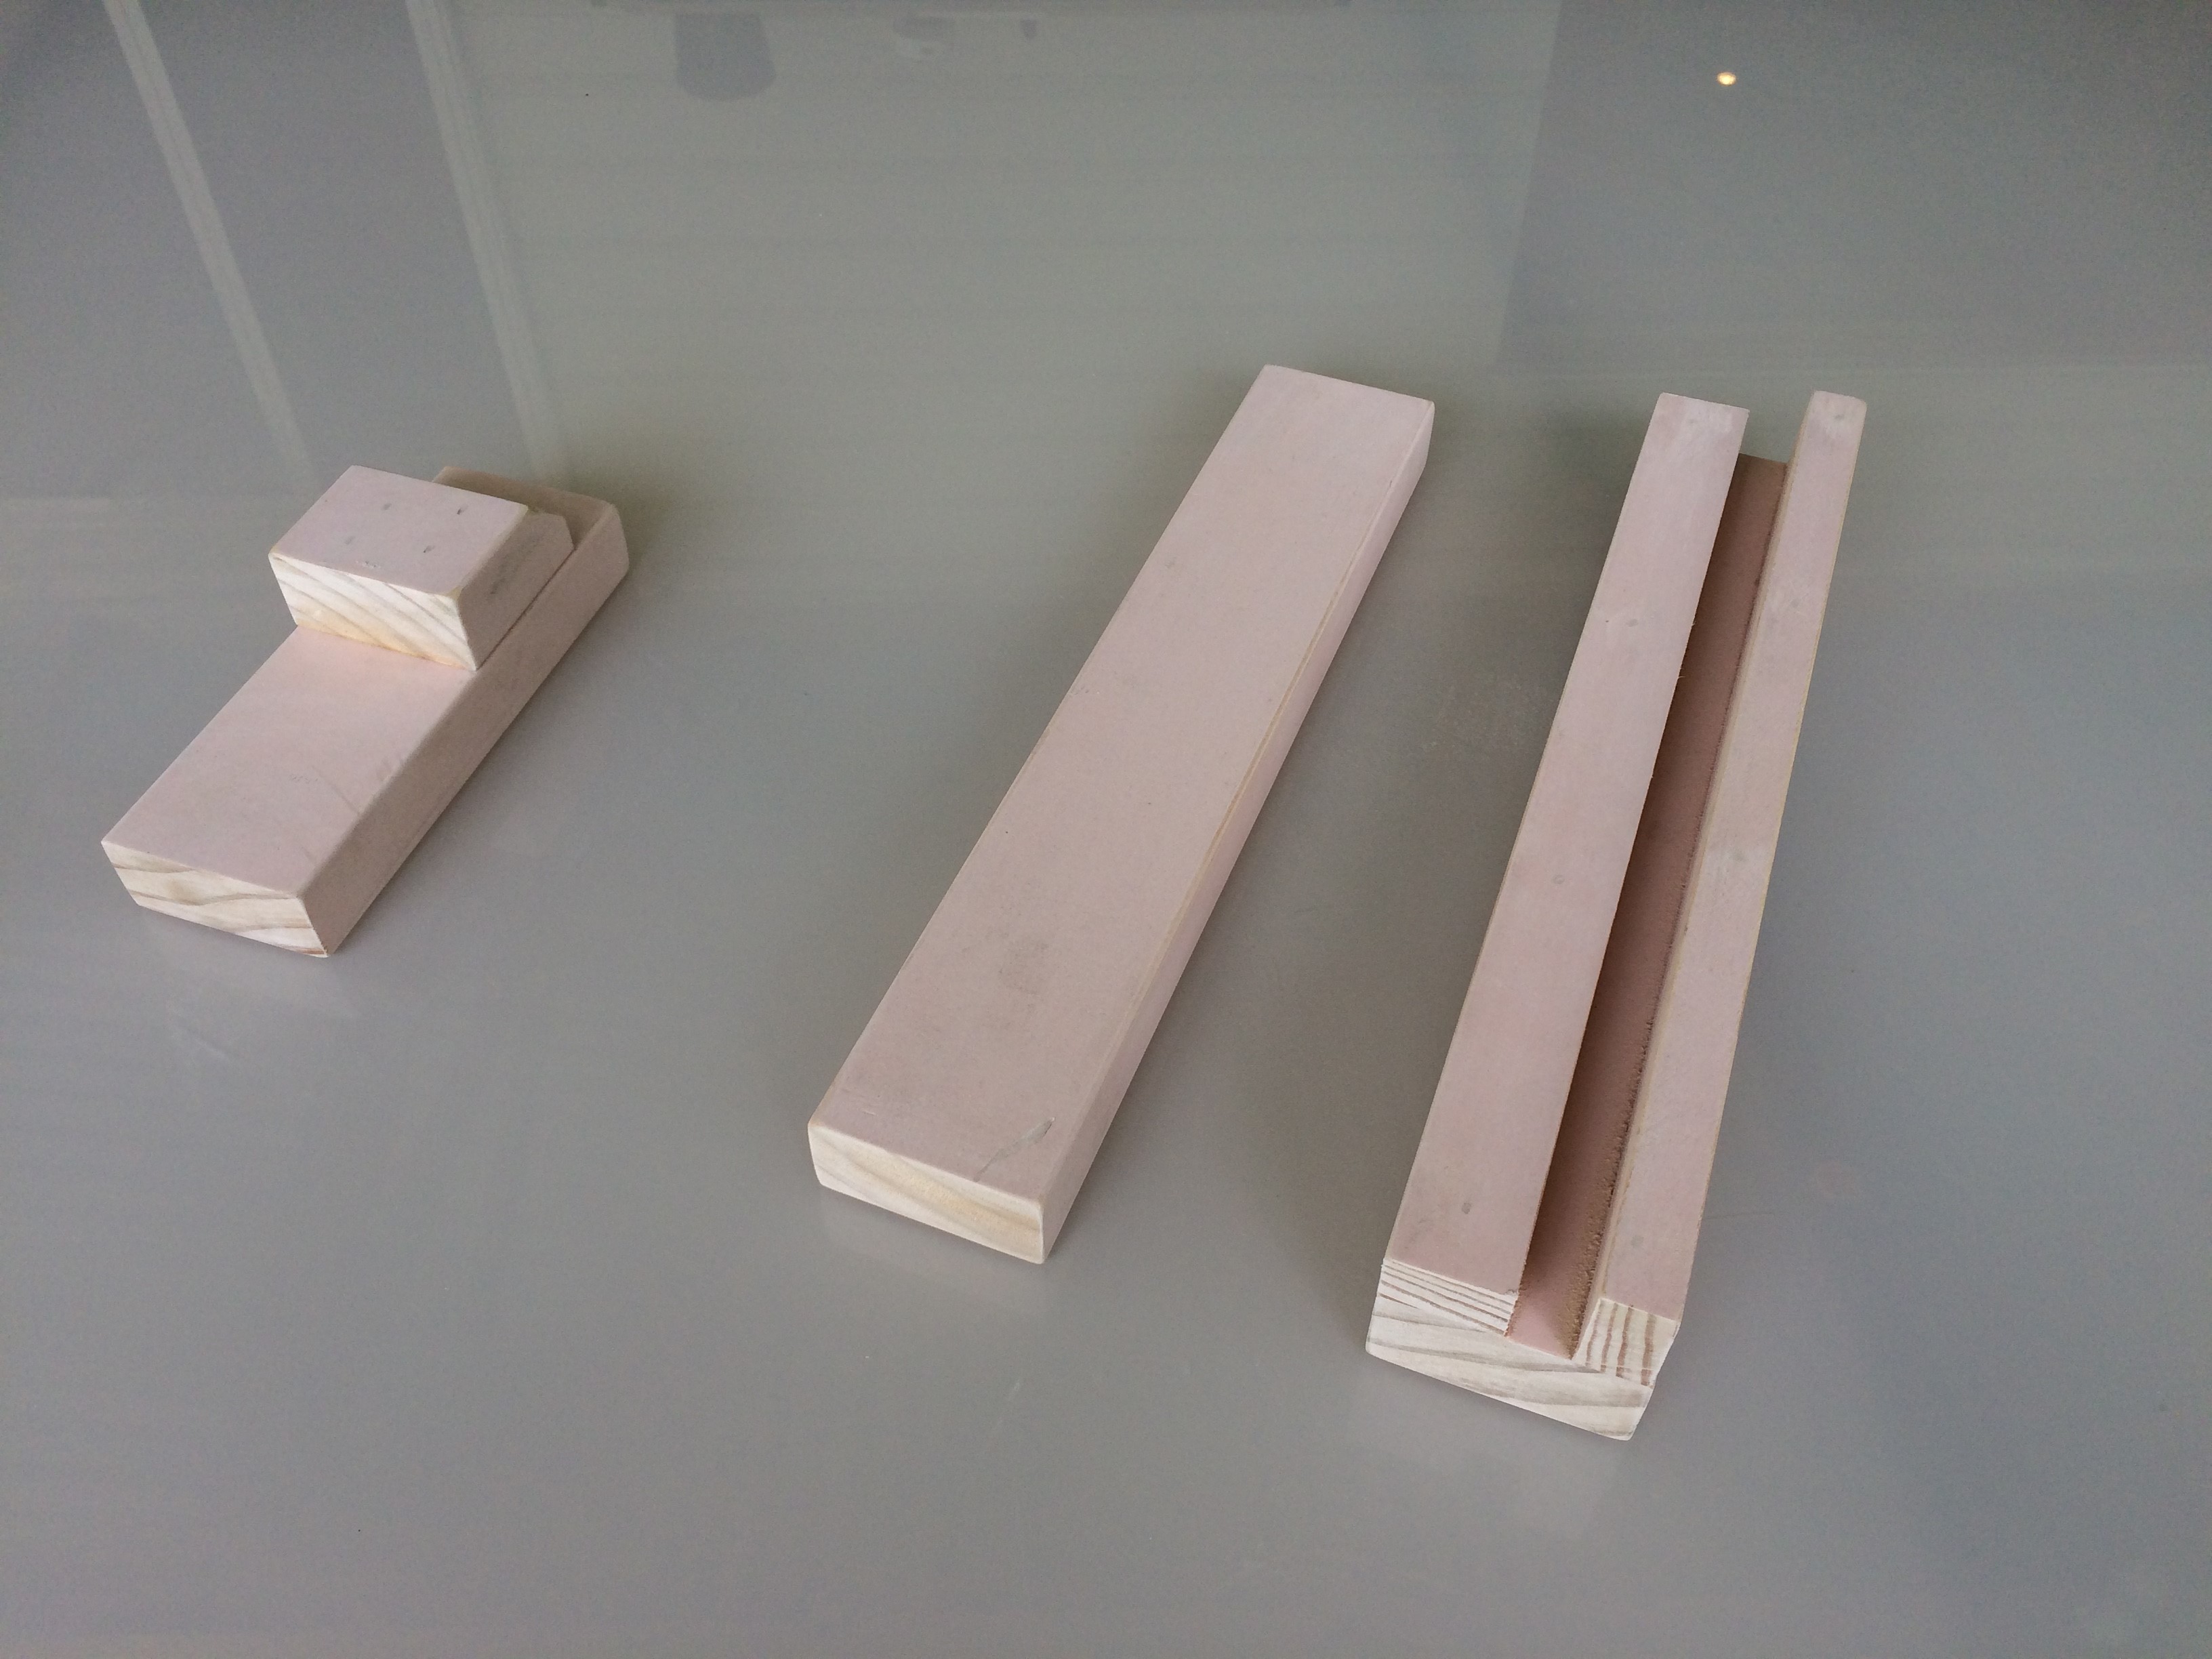
I glued and nailed the two pieces of 18mm x 32mm on top of the the 67mm x 32 on the flat side. One piece is standing on its edge as a the “backrest” and the other on its flat as the”front edge” with a grove between them. To the left, you can see the start of the “ute” my daughter and I started to build at the same time.
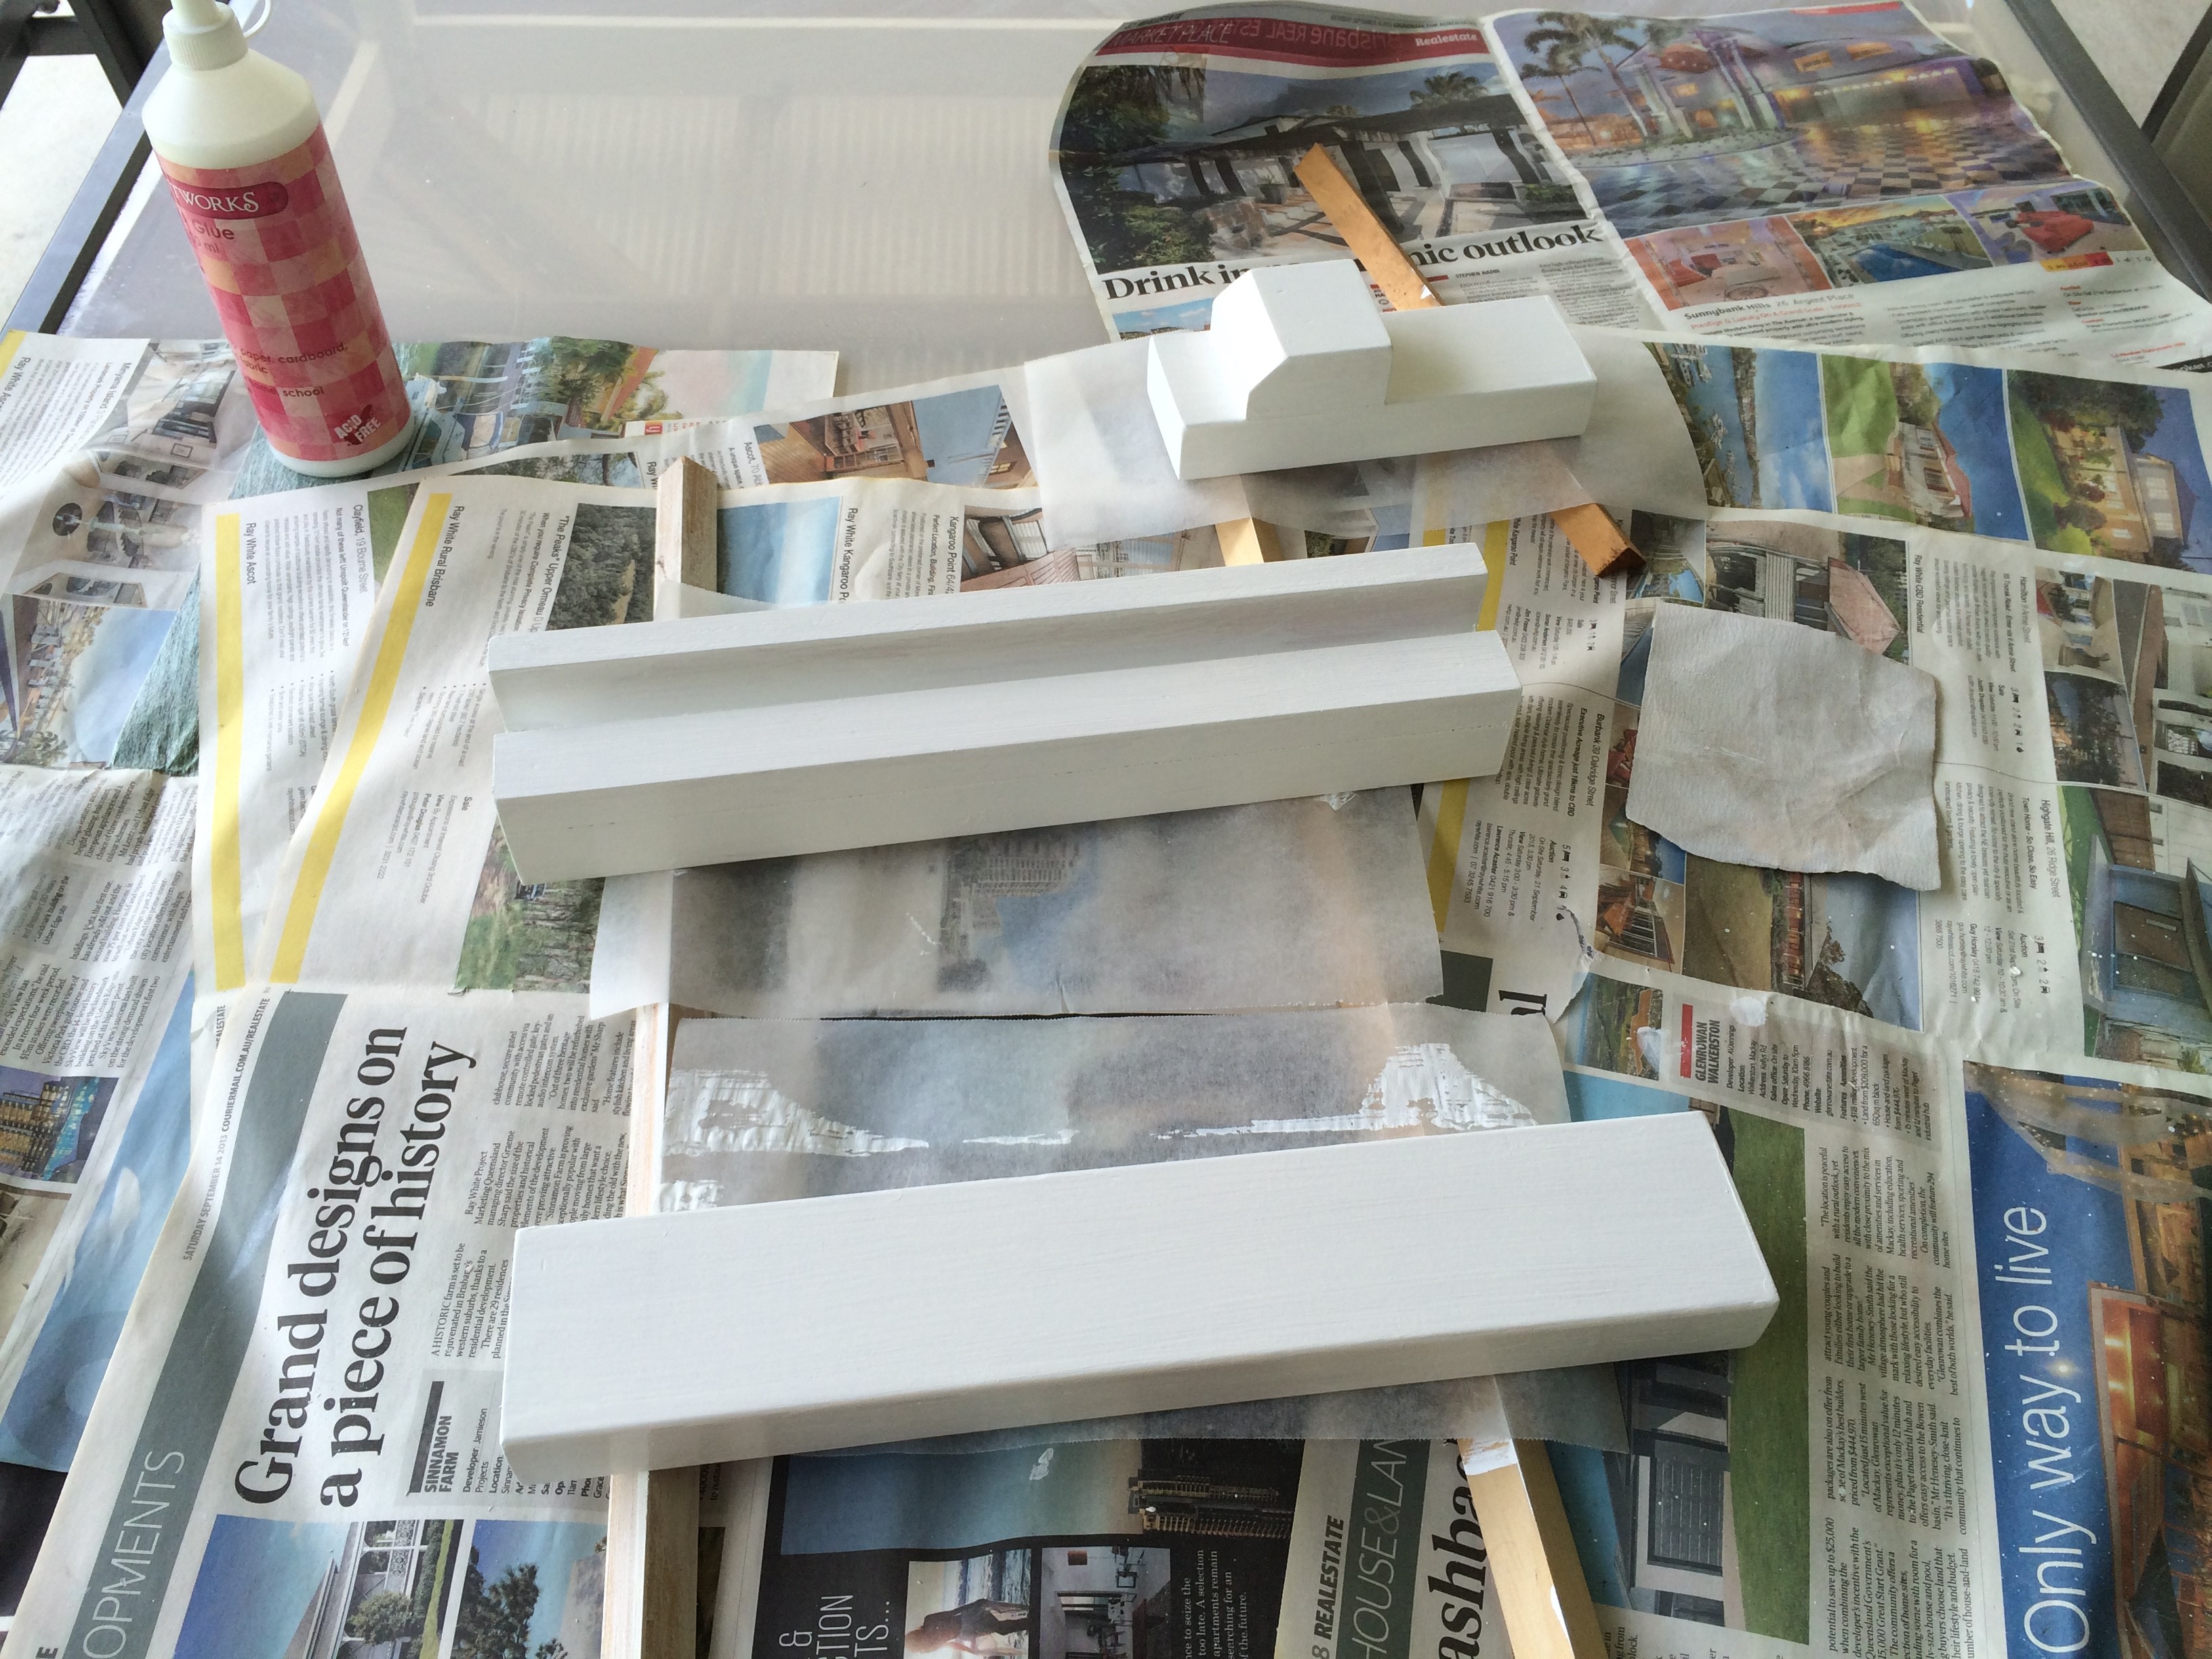
All was sanded and given two coats of gloss white.
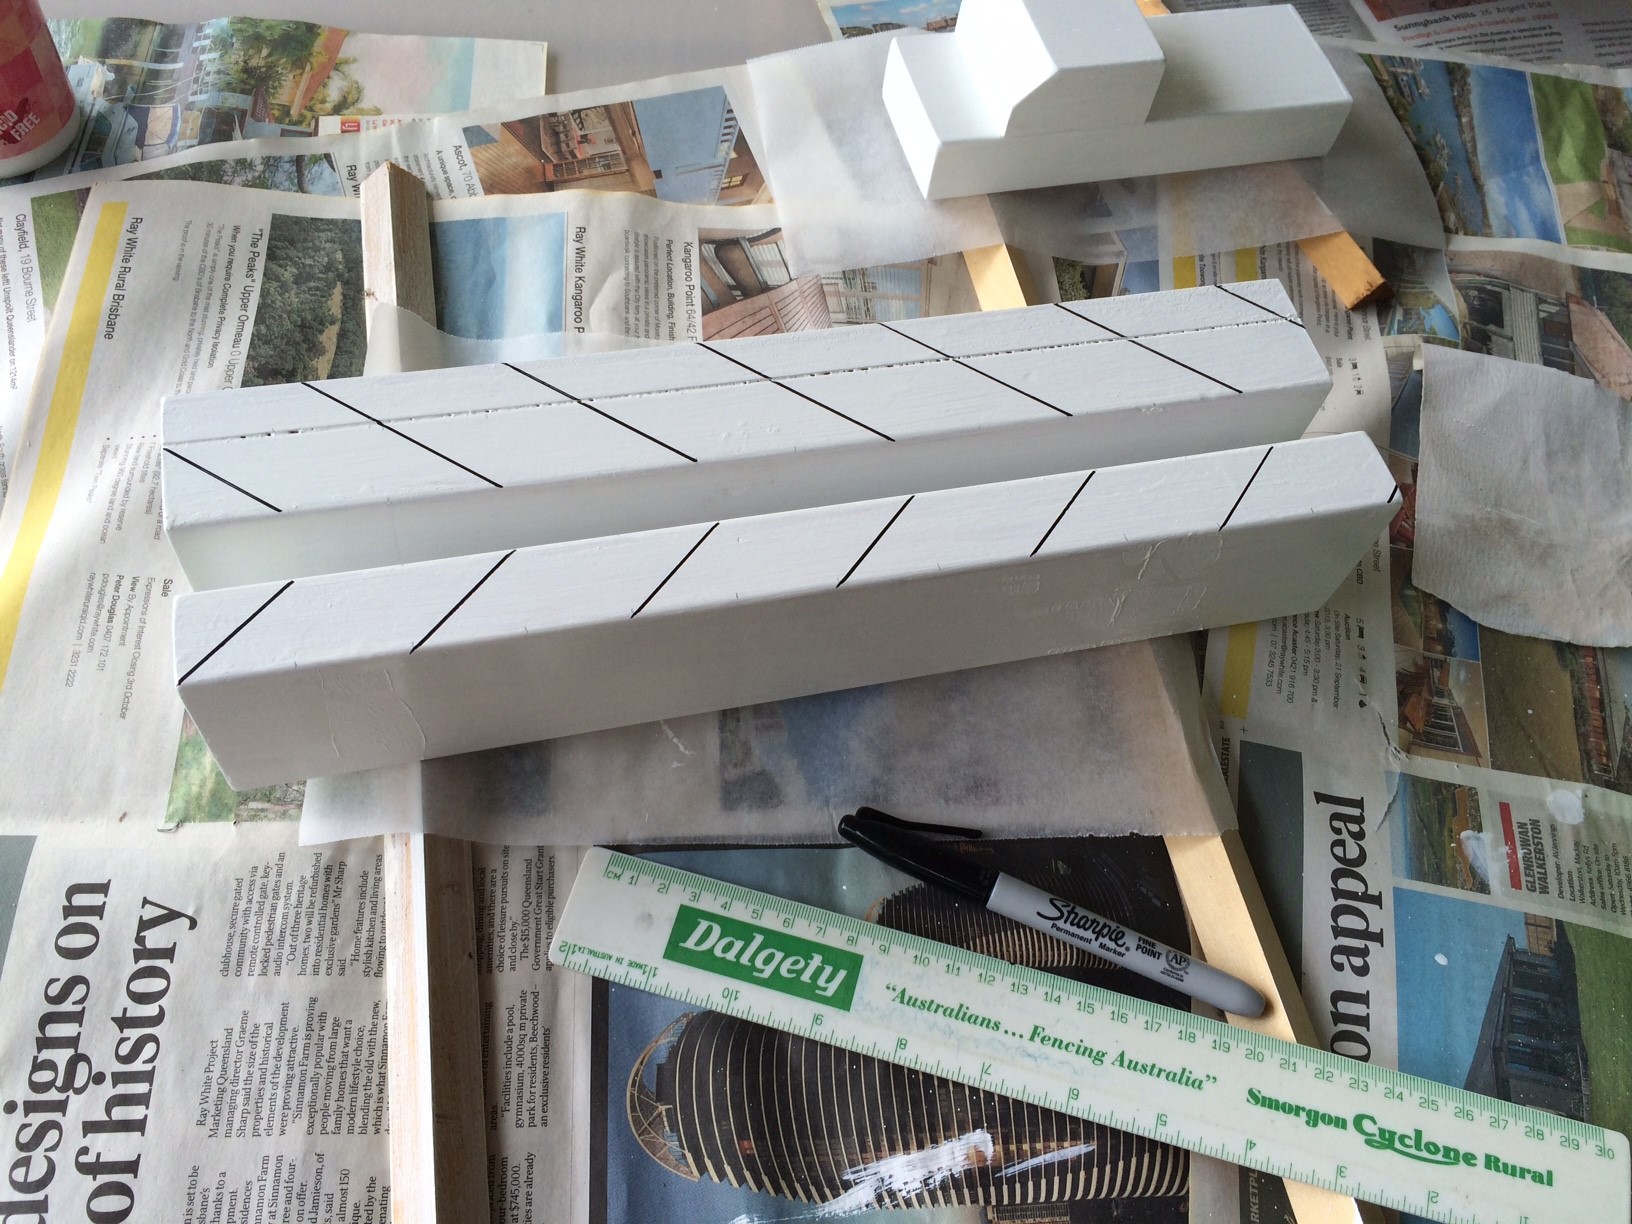
Then I marked the diagonal stripes on the front in permanent marker and then masked out each alternate stripe with blue painters tape. I made each stripe 64mm wide (twice the 32mm thickness so it was easy to mark out!). The ute is painted white in the background.

The front of the top and bottom pieces was then sprayed with gloss black and after drying the masking tape removed. It’s starting to look like a clapper now! The ute is looking very colourful.
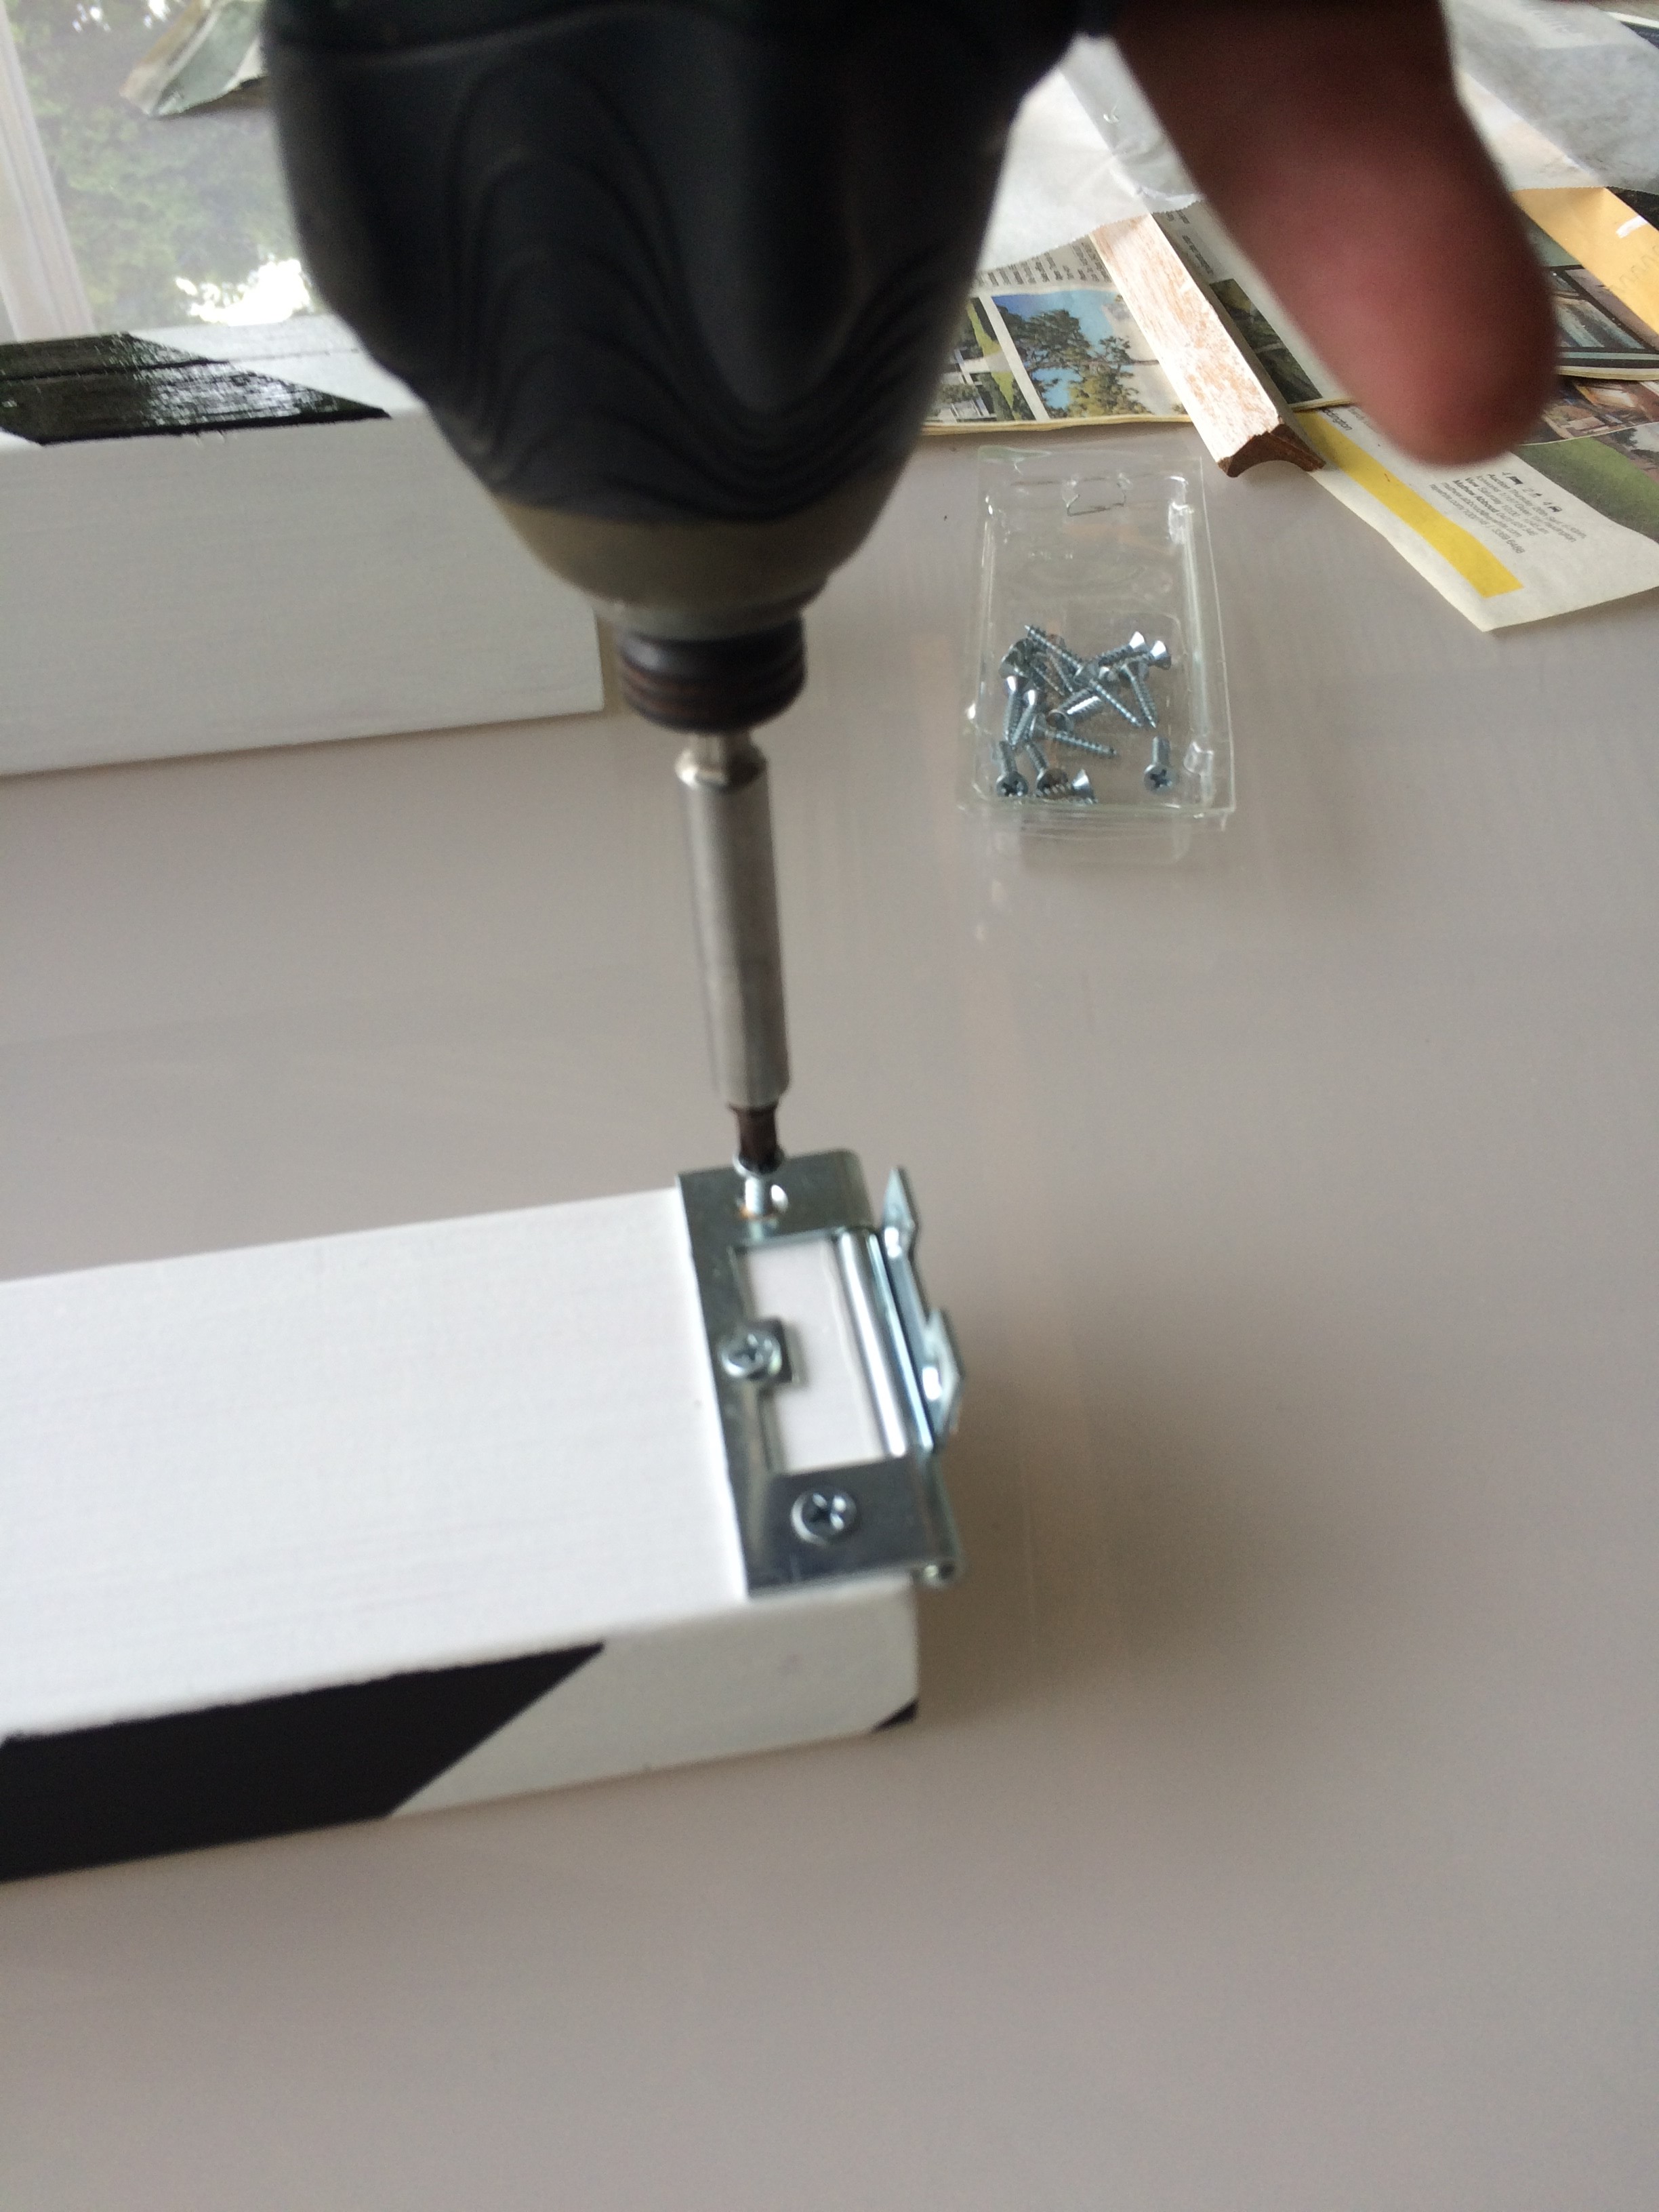
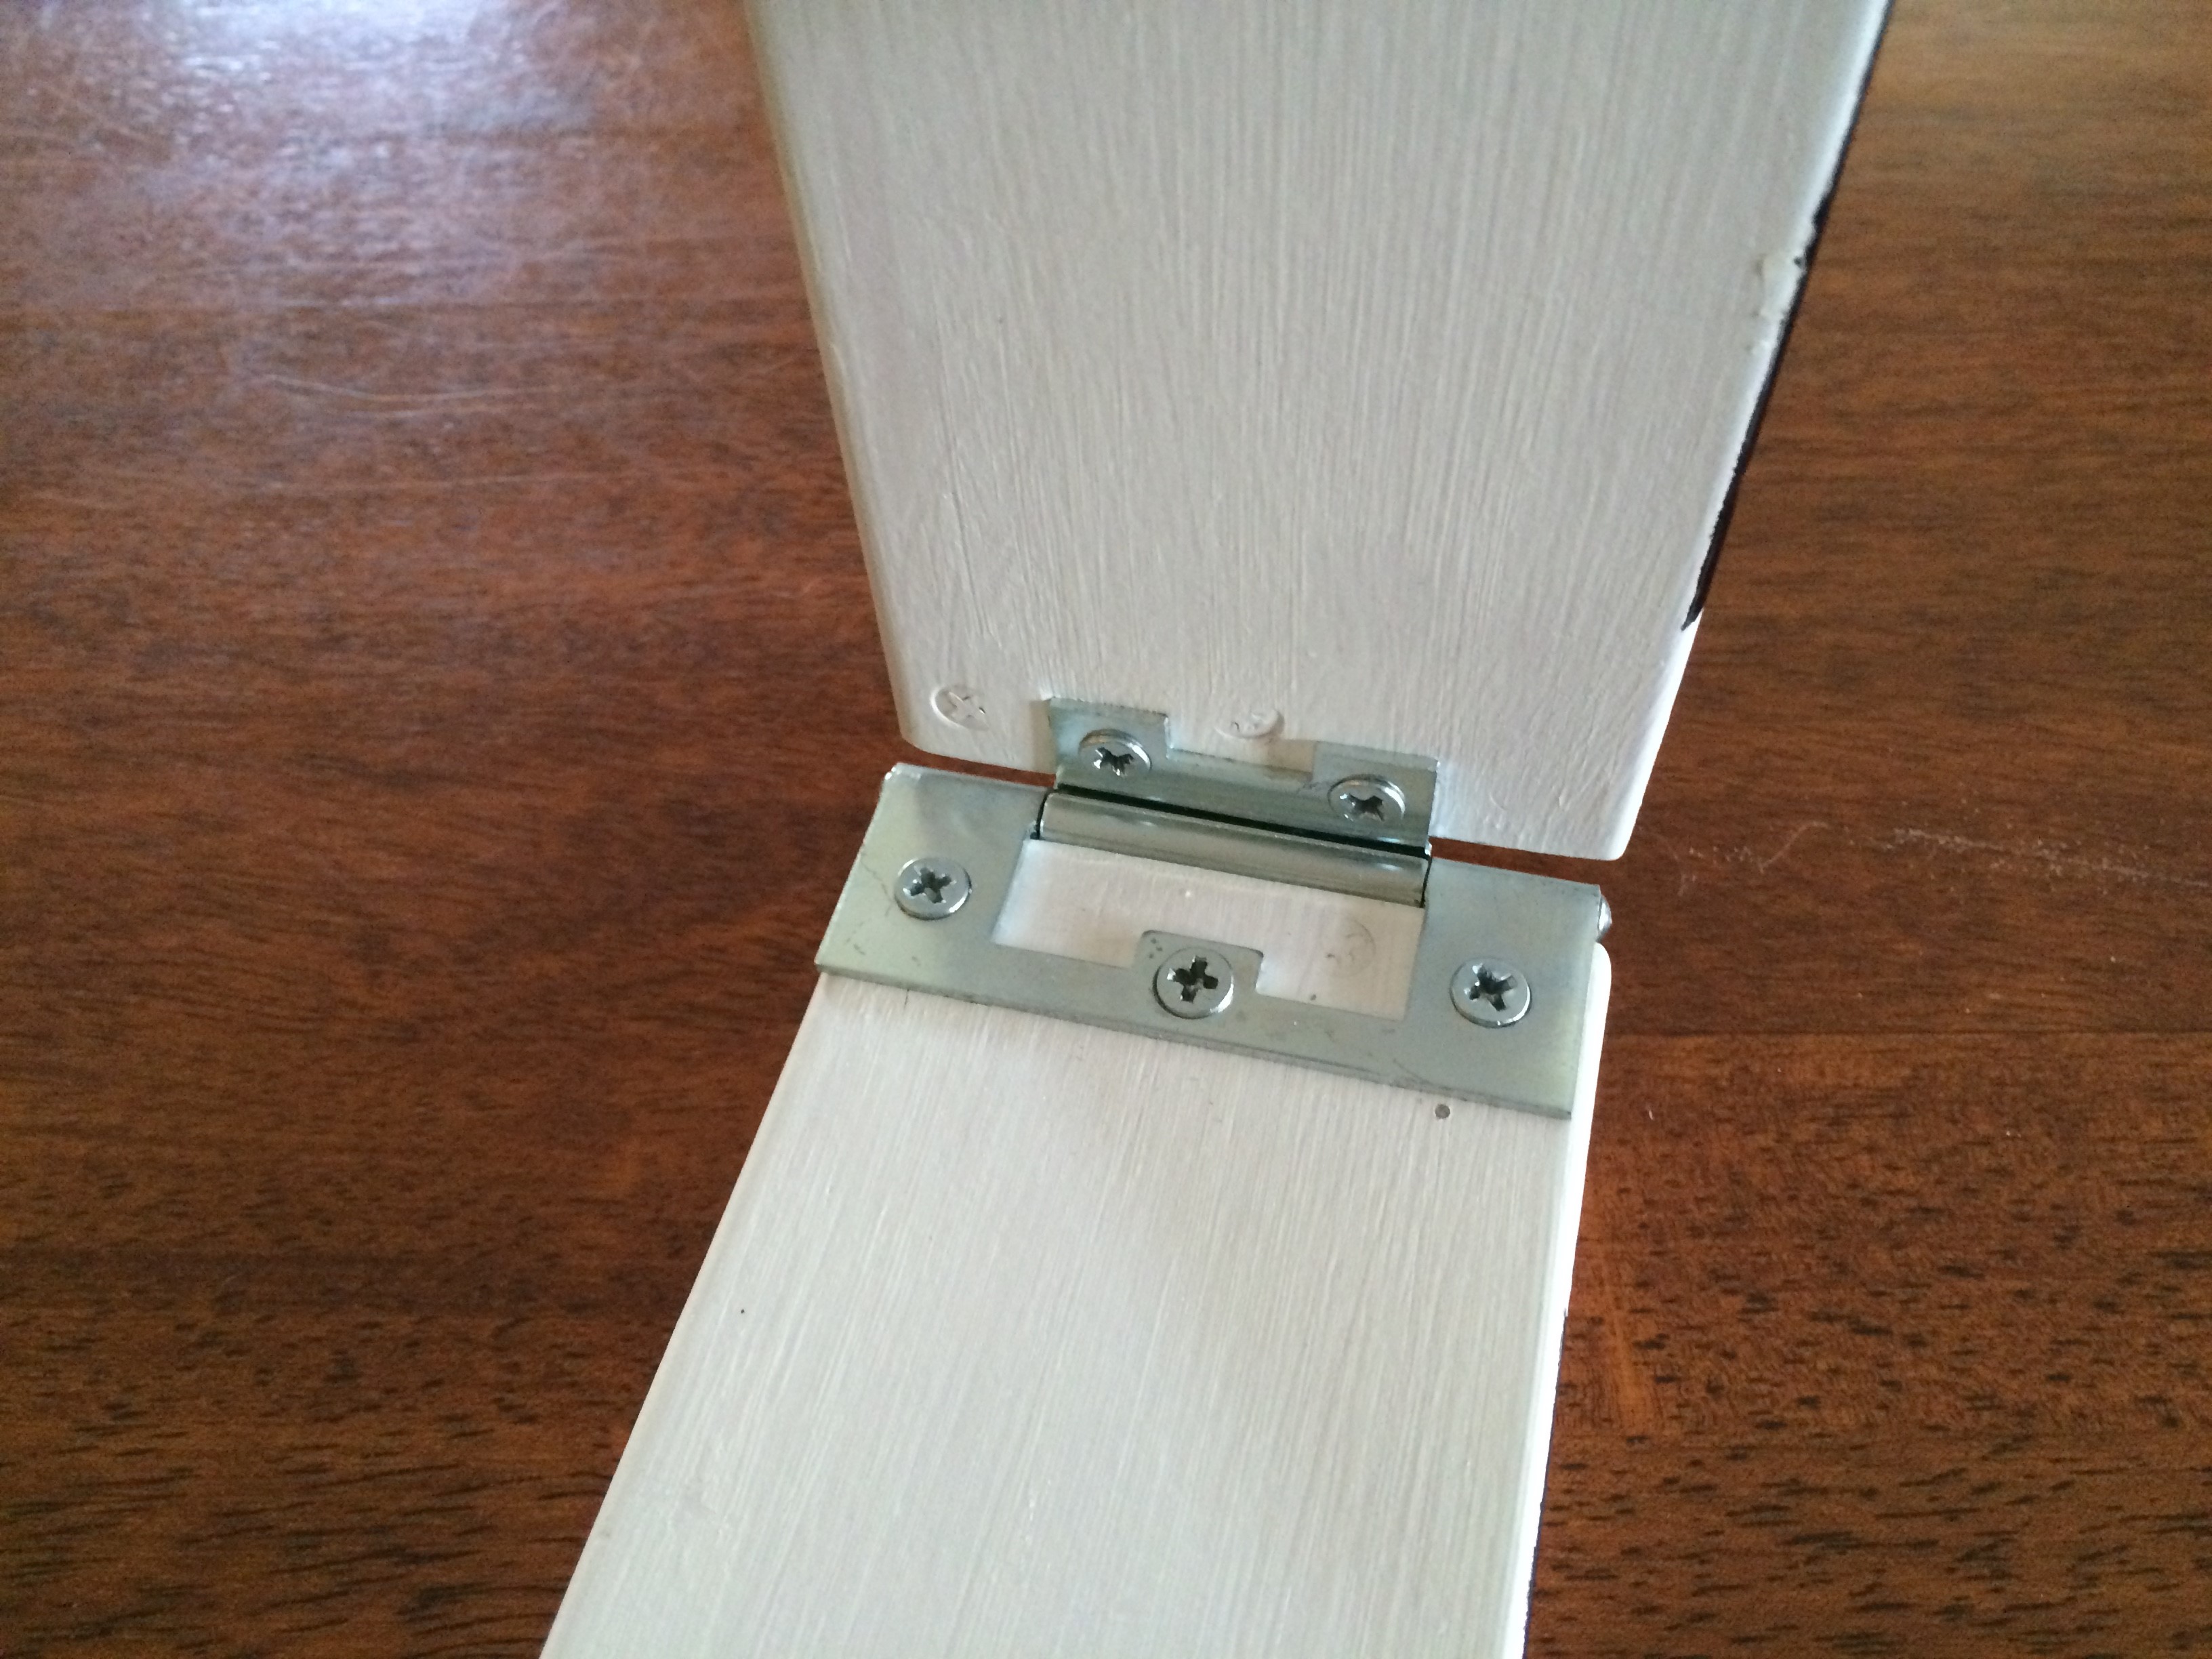
The final touch was hinging the top and bottom together with a slimline mortise free hinge.
The finished clapper looks the part, and importantly, sounds the part!


And importantly, the Surface Pro 3 sits neatly in the grove, which elevates it closer to camera height. With trusty OneNote and the stylus, I can fill in the shooting information. I’ll probably even make a neat template for it.
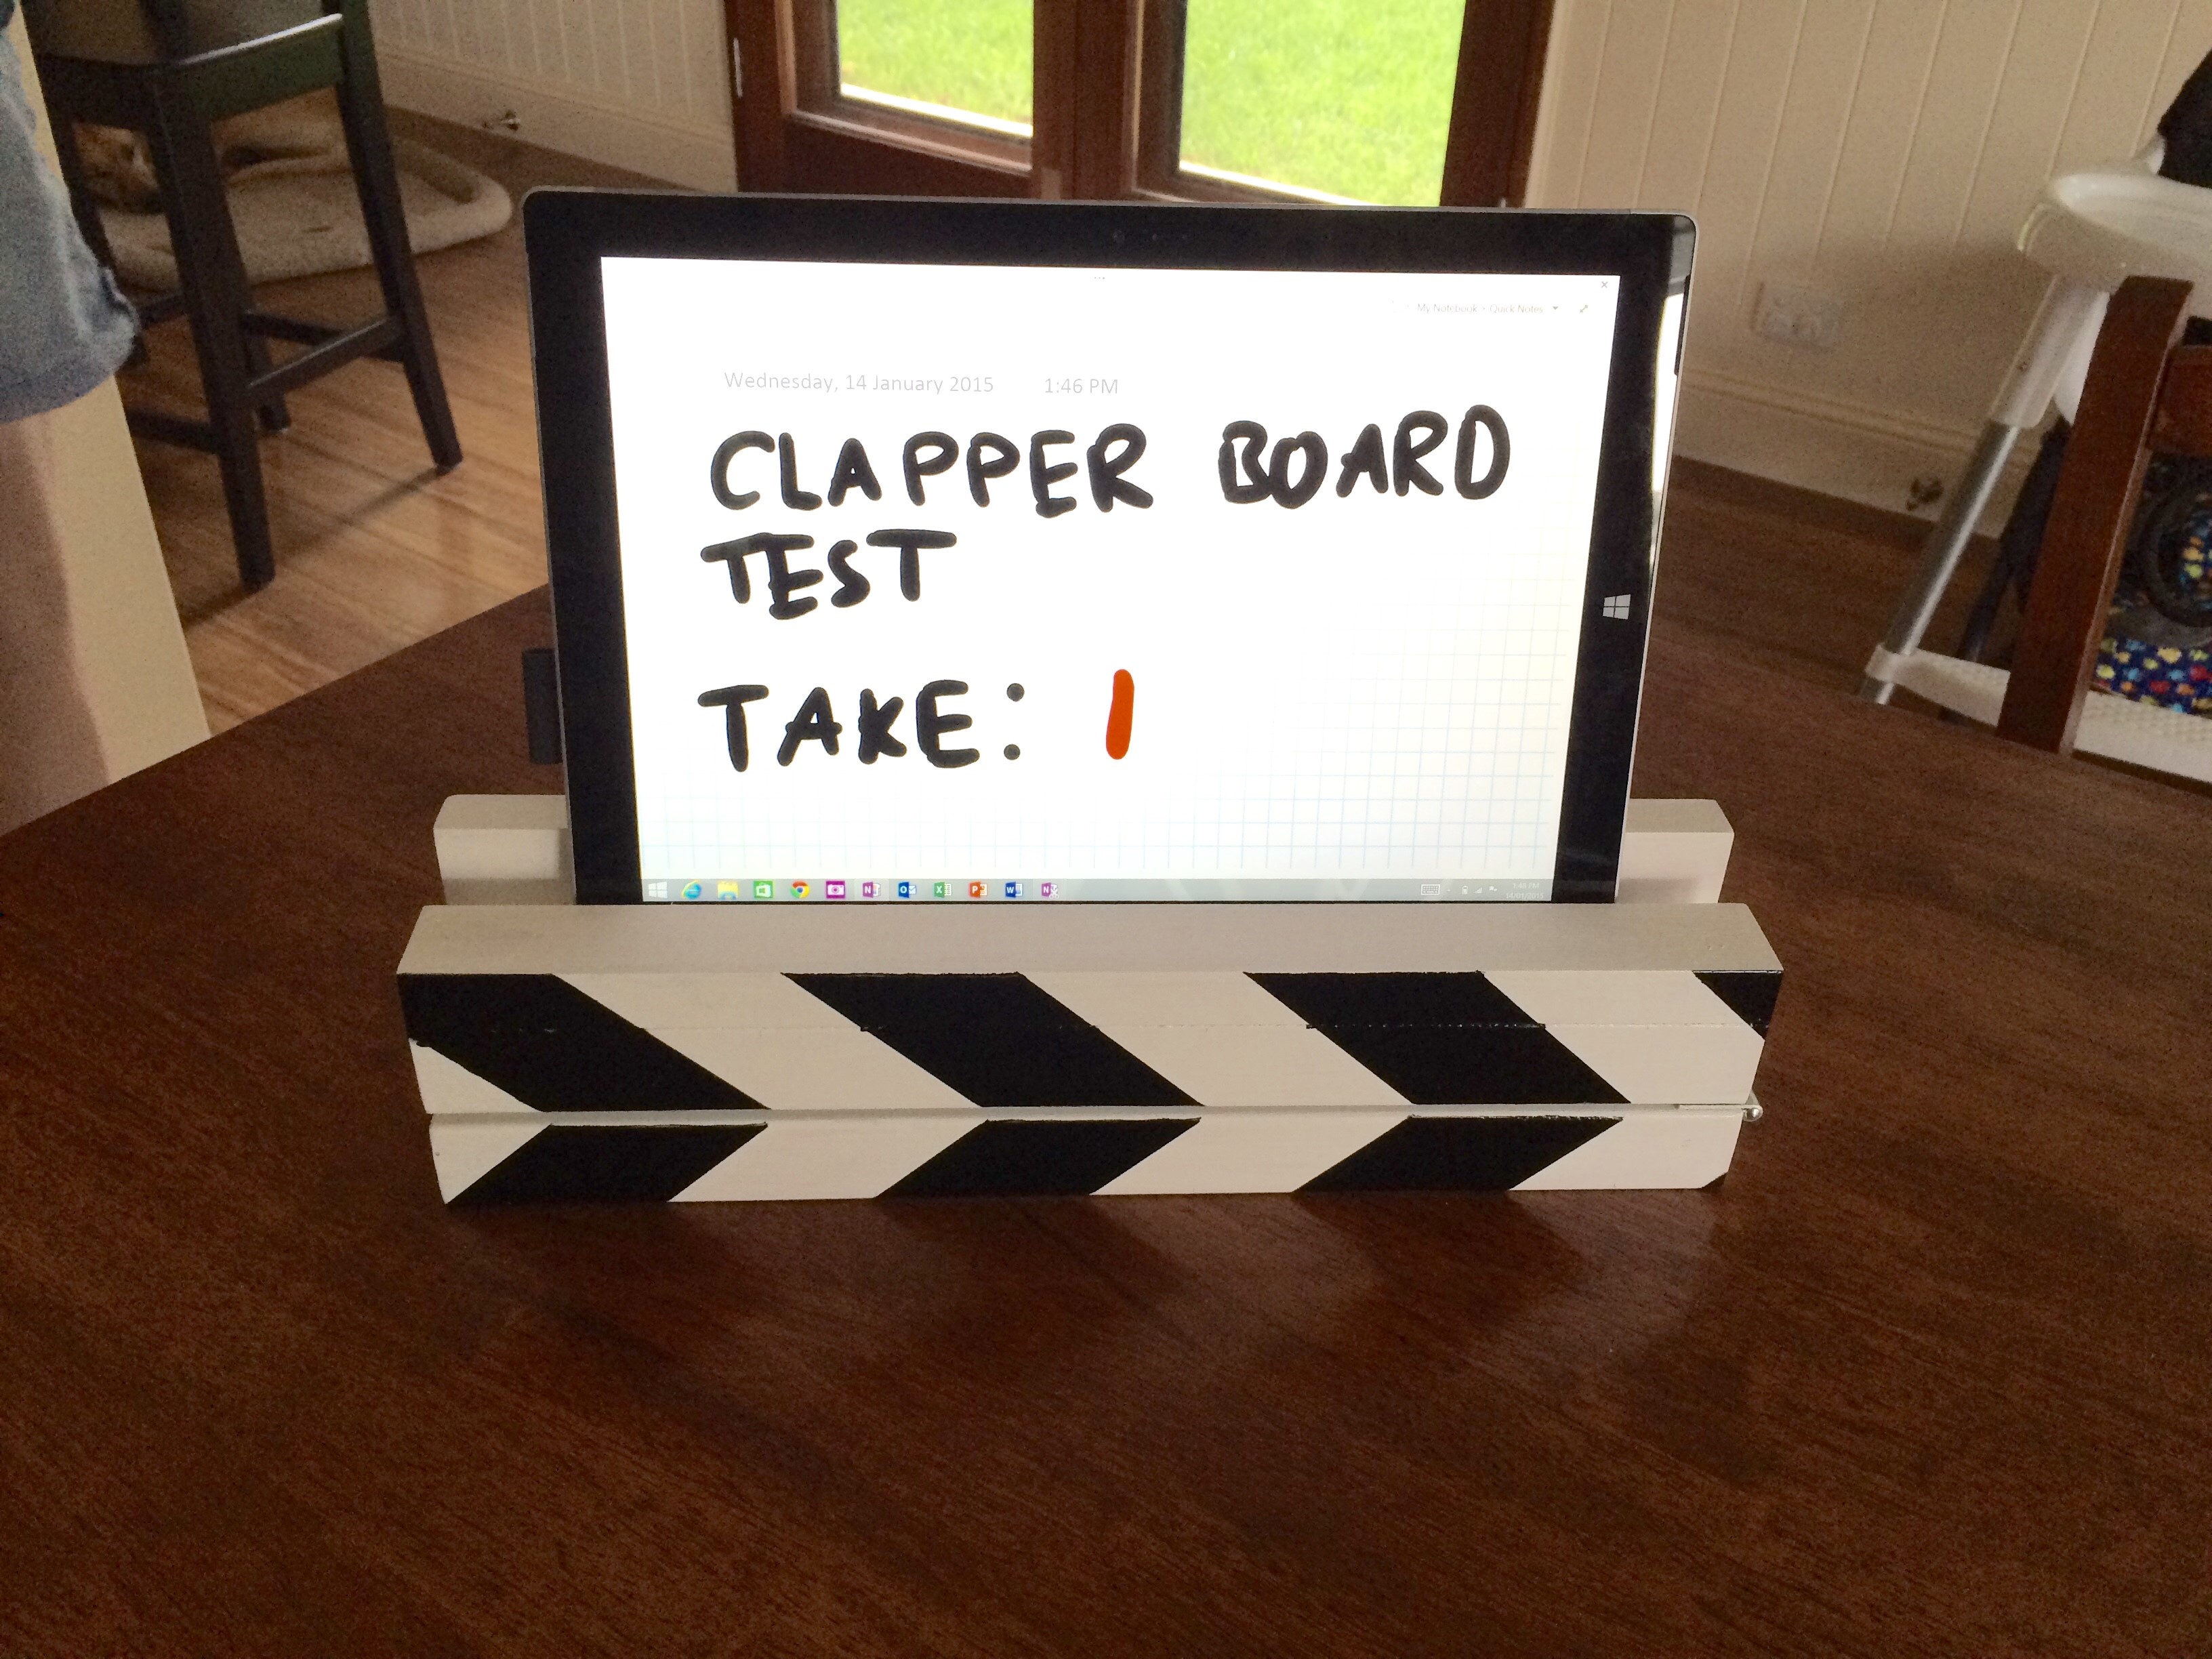
It looks like this is going to work. Watch out for the next blog entry – I’ll test my new Frankenstein DIY clapperboard creation and show how to synchronise the audio and video on Camtasia.

Nice DIY,thanks
______________________________________________________________________
Hi 🙂
Please check out my blog http://unsmileys.wordpress.com/ & facebook page https://www.facebook.com/pages/One-and-the-same/657216377728715?fref=ts if you want 🙂 You can also join me on bloglovin.Thank you so much.It means a lot. And you have a really nice blog 🙂 Best wishes
Happy blogging 🙂
LikeLike